This article show a guide on how to install BimCOM diagnostic software, hope this guide can help you to solve your installation projects.
Download BimCOM software
Procedures:
Insert attached CD to your CD-ROM
Run installation file BimCOMSetup.exe
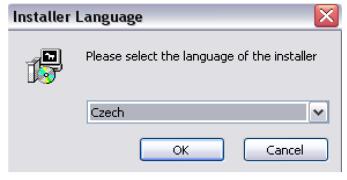
Choose language of installer

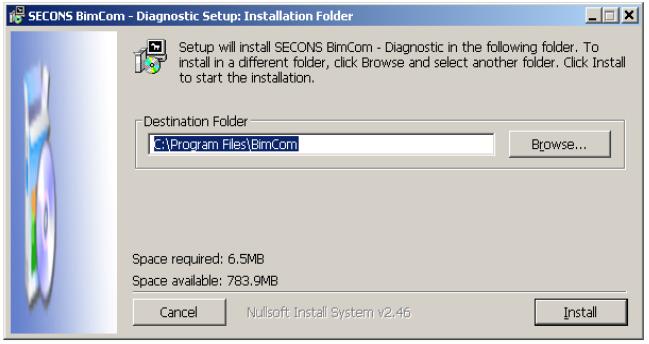
Choose your destination folder for BimCOM

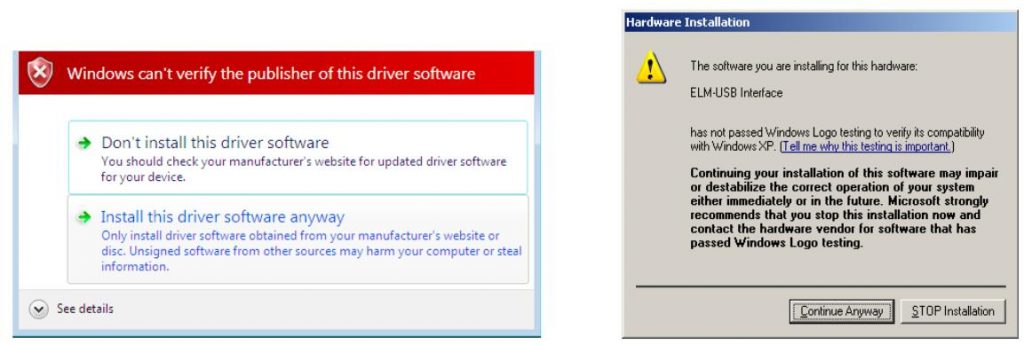
BimCOM interface drivers are automatically updated during BimCOM installation. When prompted to install„unsigned“ drivers, click on „Install this driver software anyway“ (Microsoft® Windows® 7) or „ContinueAnyway“ (Microsoft® Windows® XP. )

Microsoft® Windows® will automatically install drivers when you plug-in the BimCOM interface to USB port.You should not be connected to a vehicle until now.
Connect BimCOM to the vehicle – starting with diagnosis.
Connect the BimCOM interface to your computer. LED indicator should start blinking.
Connect BimCOM to OBD-II connector in the vehicle.If you cannot find location of the OBD-II connector, you can use BimCOM location image database,available under OBD-II Connector location from main menu:

Set-up BimCOM application
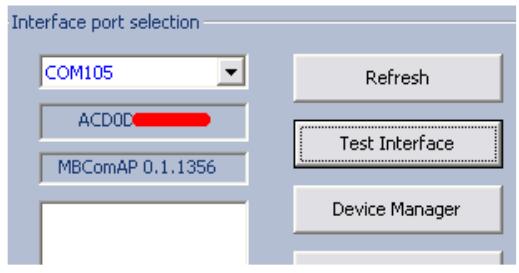
Select Settings from BimCOM main menu and configureBimCOM interface port. If no ports are shown, click Refreshbutton. Then choose appropriate port and click on Test Interfaceto make sure everything is OK. Then you should see updatedinterface information. Now click on Apply changes or Savechanges button to save changes and return to main menu.

Now your computer is ready to connect to control units. In main menu, you can use either direct control unitselection (by clicking on Select Control unit button), or perform Auto-scan, which will list all control unitsinstalled in the vehicle. Make sure you have selected correct model and model year.
