This article show a guide on how to install PoCOM diagnostic software, hope this guide can help you to solve your installation projects.
Download PoCOM software
Procedures:
Insert PoCOM installation CD to your CD-ROM drive
Run installation file PoCOMSetup.exe
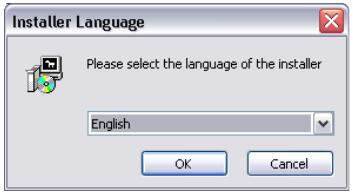
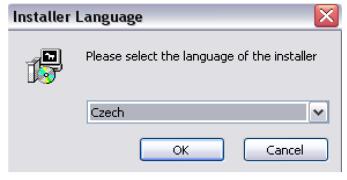
Choose language for the installer

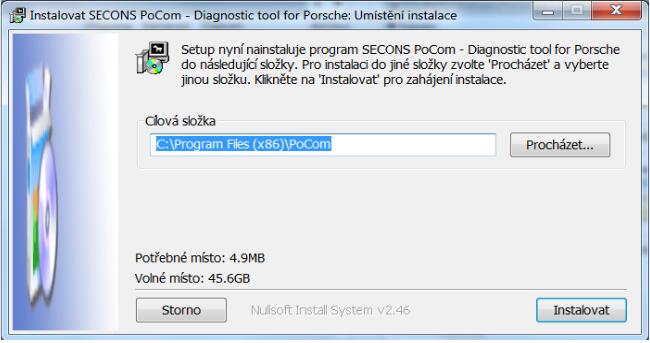
Choose your destination folder for the PoCOM and click Install button and after successful installation click Close button.

PoCOM drivers are automatically updated during the PoCOM installation. When prompted to install „unsigned“ drivers, click on Install this driver software anyway (Microsoft® Windows® 7)or Continue Anyway (Microsoft® Windows® XP).

Microsoft® Windows® will automatically install drivers when you plug-in the PoCOM to USBport. Driver installation isn’t required for operation on GNU/Linux system.
Microsoft Windows 8 driver installation
In case of problem with installing drivers on Windows 8 64-bit, please follow these steps:
-Press Windows Key + R
-In the window that appears, type: “shutdown.exe /r /o /f /t 00”
-Press “OK” button
-The System will restart to a “Choose an option” screen
-Select “Troubleshoot” from “Choose an option” screen6.Select “Advanced options” from “Troubleshoot” screen
-Select “Windows Startup Settings” from “Advanced options” screen
-Click “Restart” button
-System will restart to “Advanced Boot Options” screen
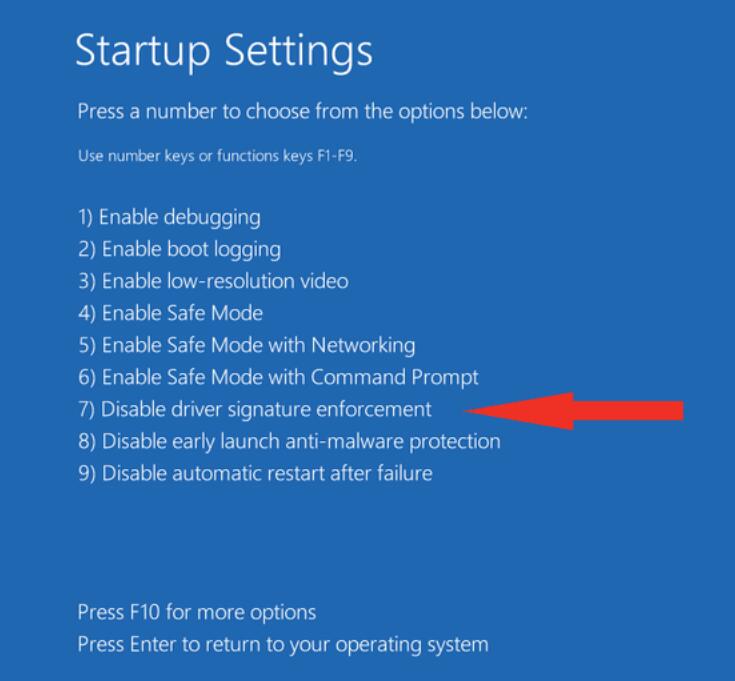
-Select “Disable Driver Signature Enforcement” (press number on keyboard for optionshown on screen)
-Once the system starts, install the diagnostic interface drivers as you would on Windows 7
Windows Vista & 7 required signed all .sys files (we use usbser.sys shipped by Microsoftwith valid digital signature). Final version of Windows 8 requires also signed .inf file (whichis not in our case). The above procedure helps to override unsigned .inf file. Once driver isinstalled, the program will work properly.

