If you encounter an issue where the SDD software does not recognize the VNCI JLR DoIP device after installing the SDD and JLR driver software, don’t worry. This issue arises because the SDD software system has disabled the VNCI JLR DoIP by default. Fortunately, you can resolve this problem by making a simple modification to the SDD configuration file.
Step 1: Install Software
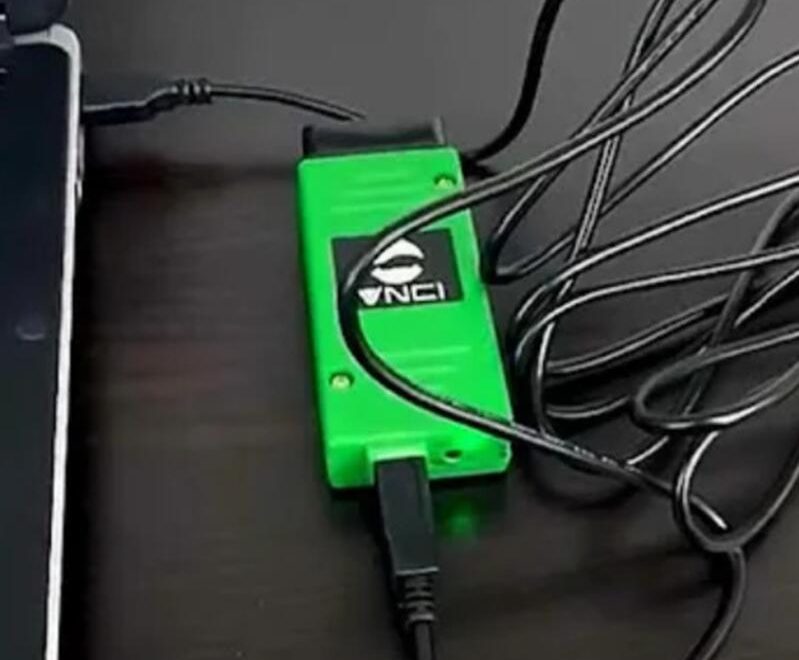
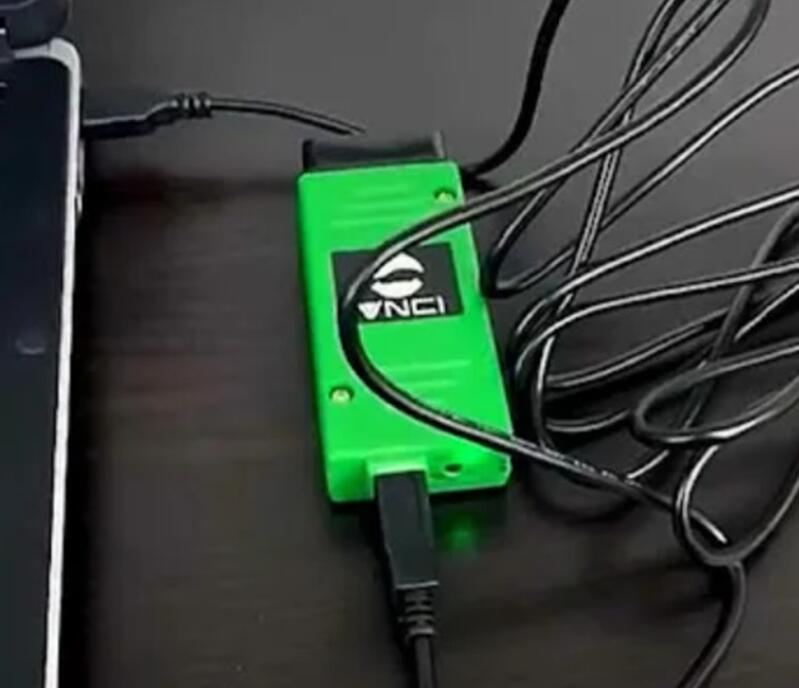
- Install the SDD software and JLR Device Manager on your computer.
Step 2: Modify the GatewayManager.ini File in the SDD Runtime Folder
- Navigate to the following folder:
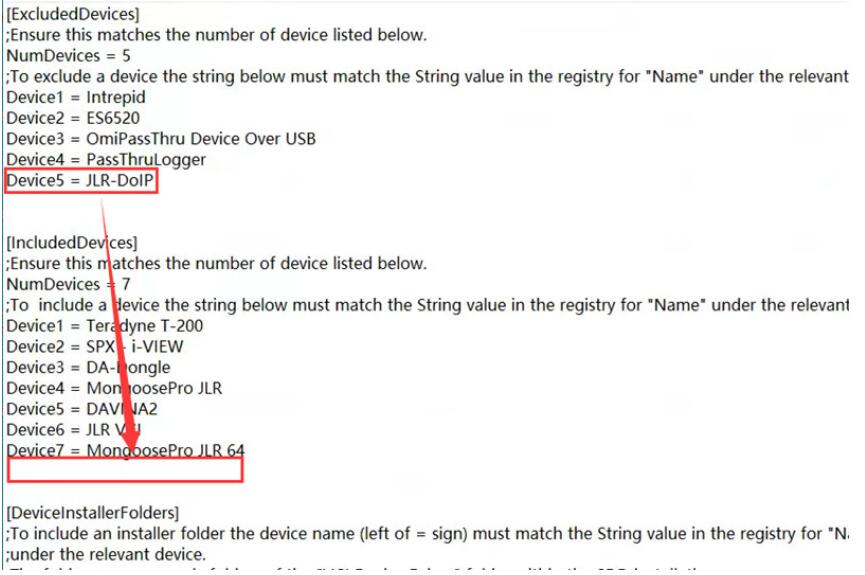
C:\Program Files (x86)\JLR\SDD\Runtime - Locate and open the GatewayManager.ini file for editing.
- Look for the line:
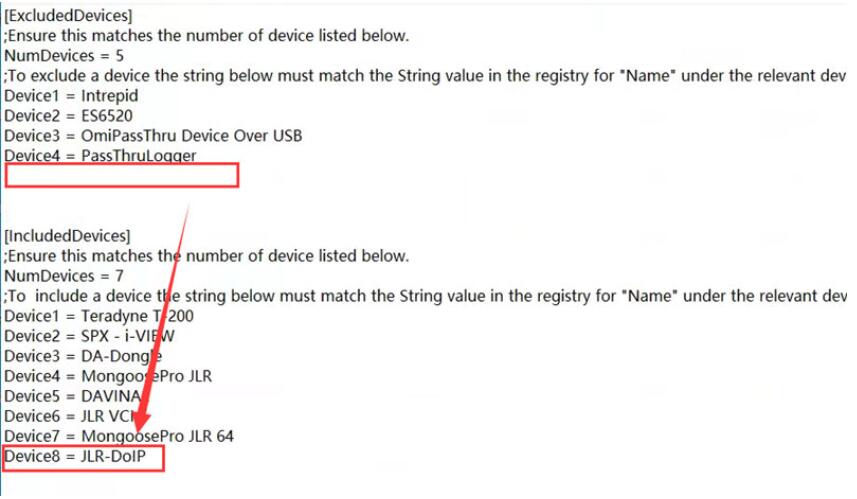
Device5 = JLR-DOIP - Modify the line so that it reads:
Device5 = JLR-DOIP Device8 = JLR-DOIP - Save the changes to the file.
Step 3: Modify the GatewayManager.ini File in the IDS Runtime Folder
- Navigate to the following folder:
C:\Program Files (x86)\JLR\IDS\Runtime - Locate and open the GatewayManager.ini file for editing.
- Perform the same modification as in Step 2:
- Add the line Device8 = JLR-DOIP below the existing Device5 = JLR-DOIP line.
- Save the changes to the file.
Step 4: Run the SDD Software
- After saving the modifications, launch the SDD software. It should now successfully detect the VNCI JLR DoIP diagnostic tool.
This simple file modification will resolve the recognition issue, allowing you to use your VNCI JLR DoIP with the SDD software.