Today, I will show you how to set up the BMW ICOM NEXT. As many of you know, BMW has evolved, and now they use the “NEXT” icon for programming and coding, especially for F and G series vehicles. This icon needs to be connected to a router. While I won’t walk you through the router setup specifically, I will show you how to set up the BMW ICOM NEXT. It is quite similar to the older A2 Plus, B Plus C icons, which many of you might remember for their orange and black color. I have explained how to set up those before. Many people buy the ICOM NEXT and encounter numerous issues. I will show you what the common issues are and how to identify if your ICOM is functioning properly or if it is faulty.
Getting Started
Let’s begin with setting up the BMW ICOM NEXT:
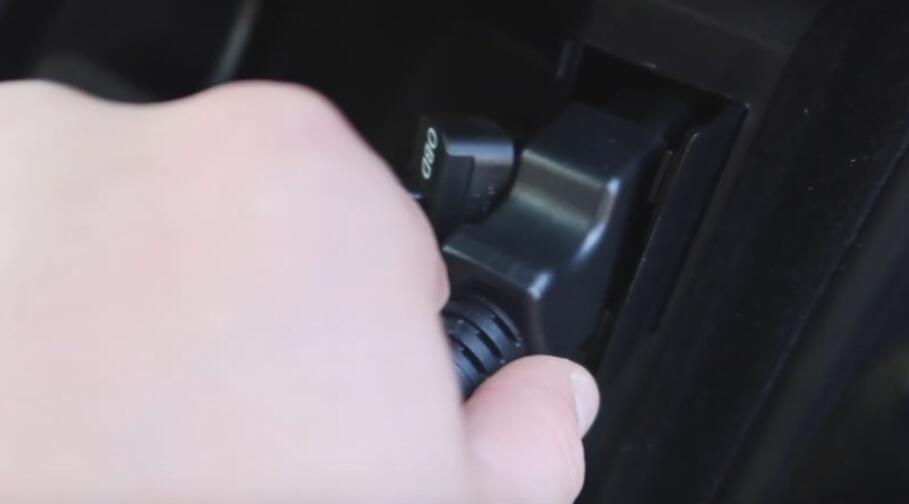
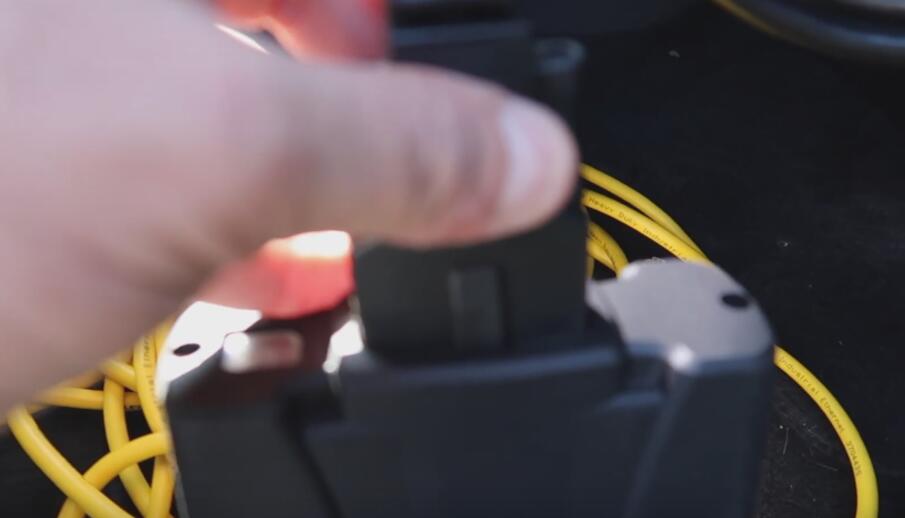
- OBD Port Connection:
- Locate your car’s OBD port and connect the ICOM NEXT to it.
- Ensure the connector is properly aligned and securely plugged in.
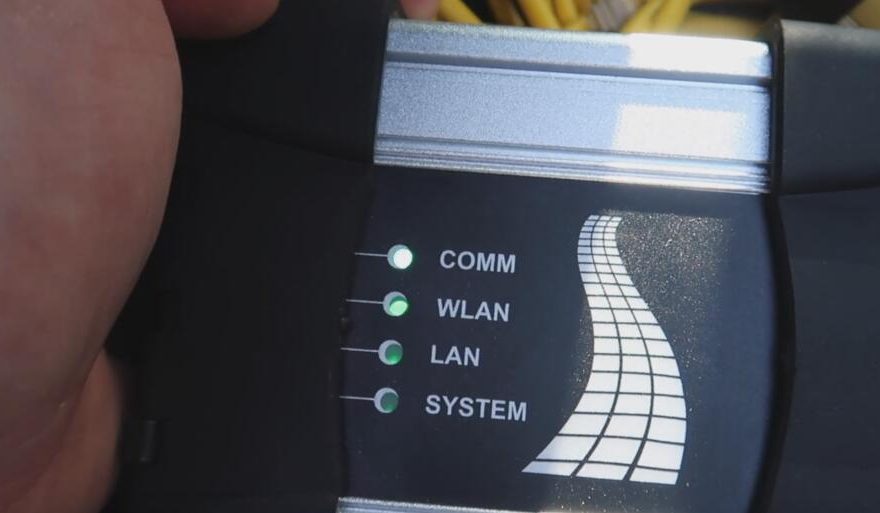
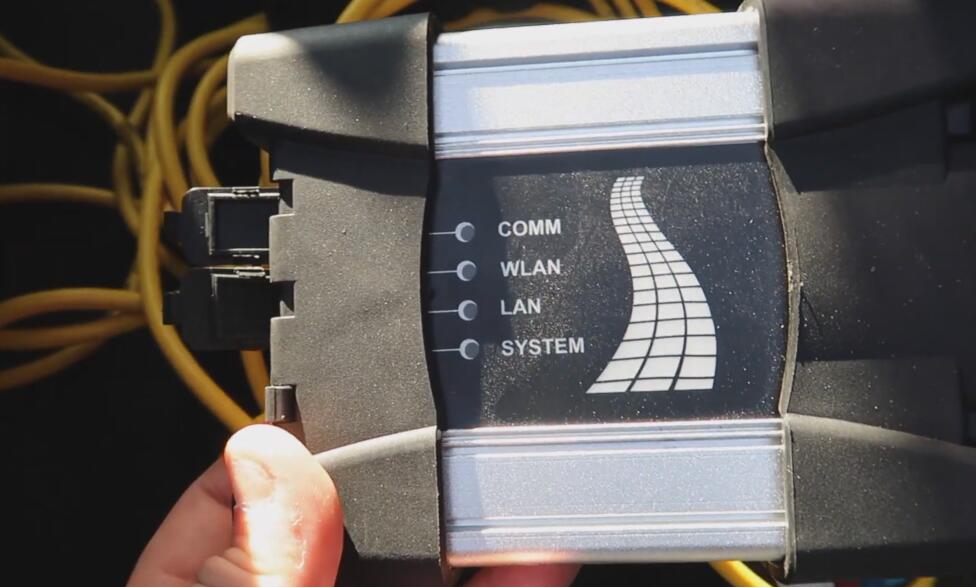
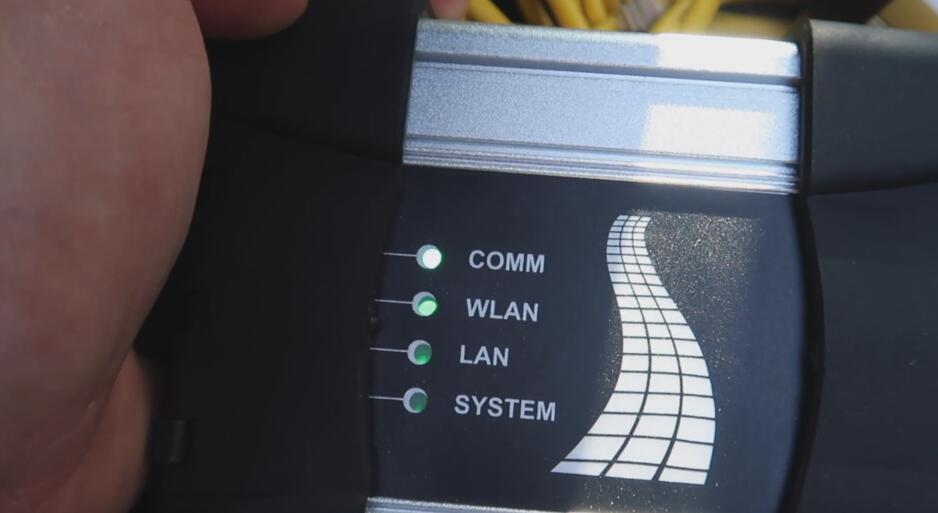
- All four green lights on the ICOM NEXT should light up, indicating it is working.
- Vehicle Interface Configuration:
- If you’ve been using a cable for a long time and want to switch to using ICOM, you need to change your vehicle interface settings.
- In ISTA, go to the vehicle interface and change it to the ICOM NEXT. Click “OK” to confirm.

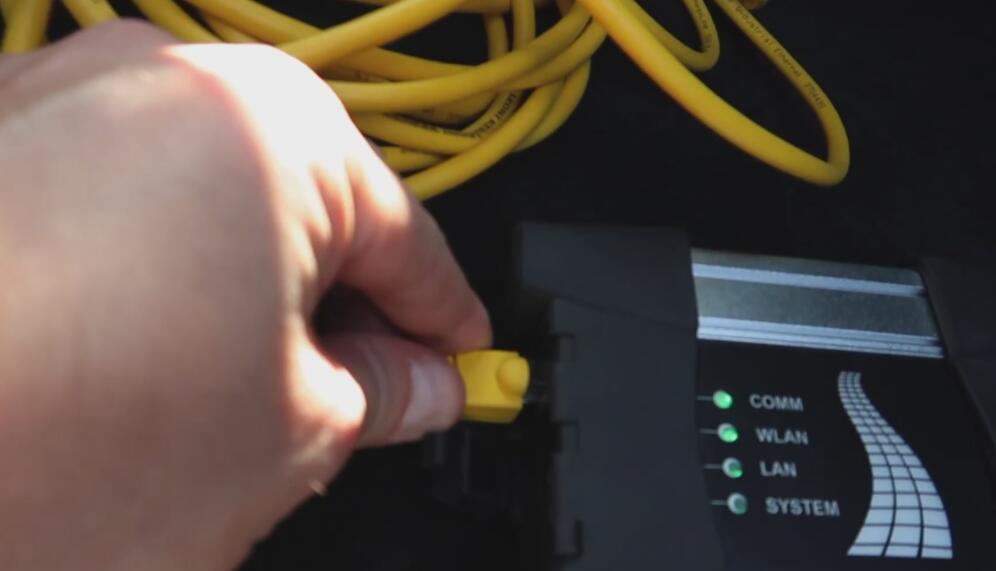
- Ethernet Connection:
- Connect one end of an Ethernet cable to the ICOM NEXT and the other end to your laptop.
- Starting ISTA:
- Open ISTA on your laptop.
- Ensure the car’s ignition is on, and the ignition lights are illuminated to provide power to the car.
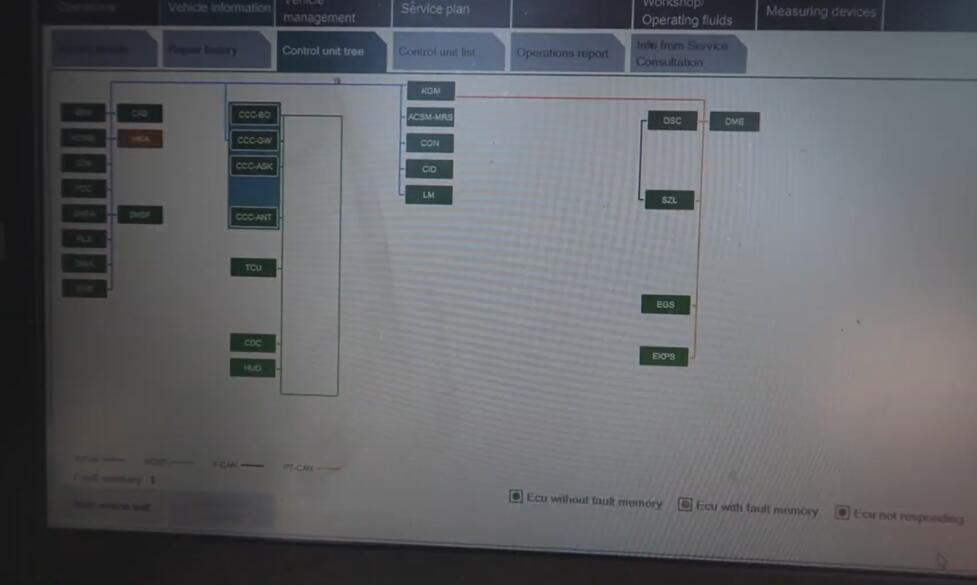
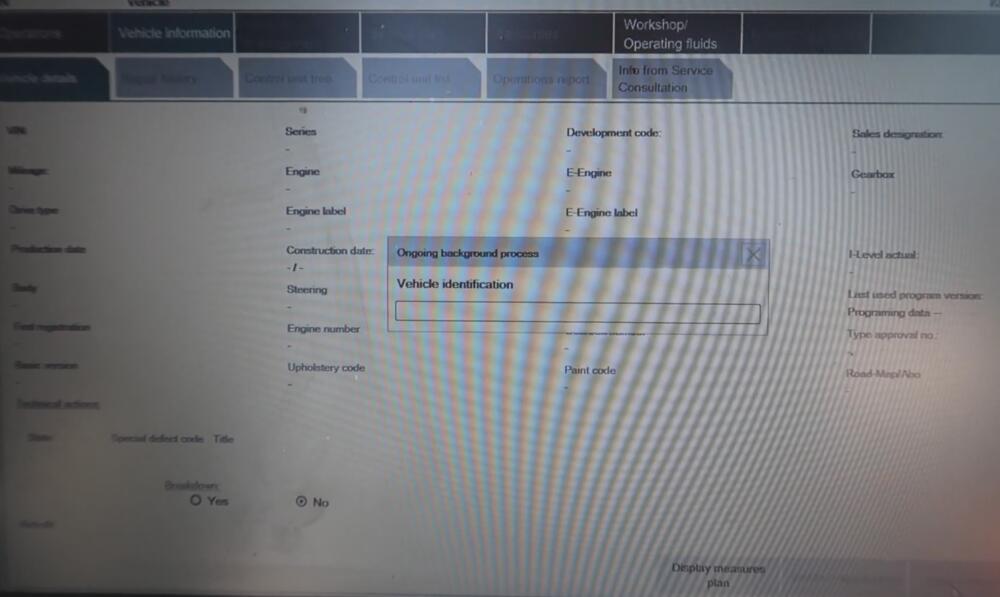
- Perform a complete identification of the vehicle. The ICOM NEXT should connect, and you should see it listed.
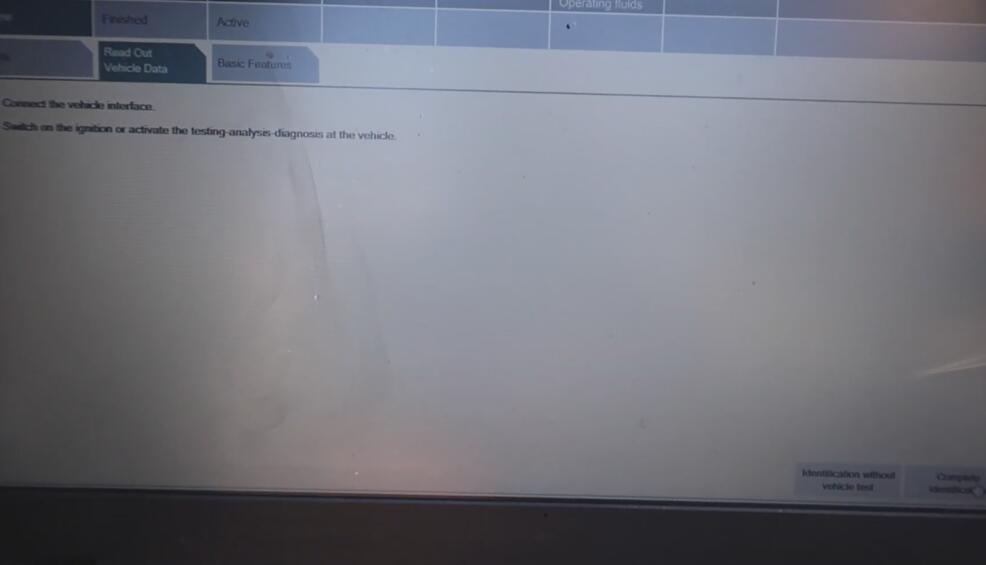

Troubleshooting Common Issues
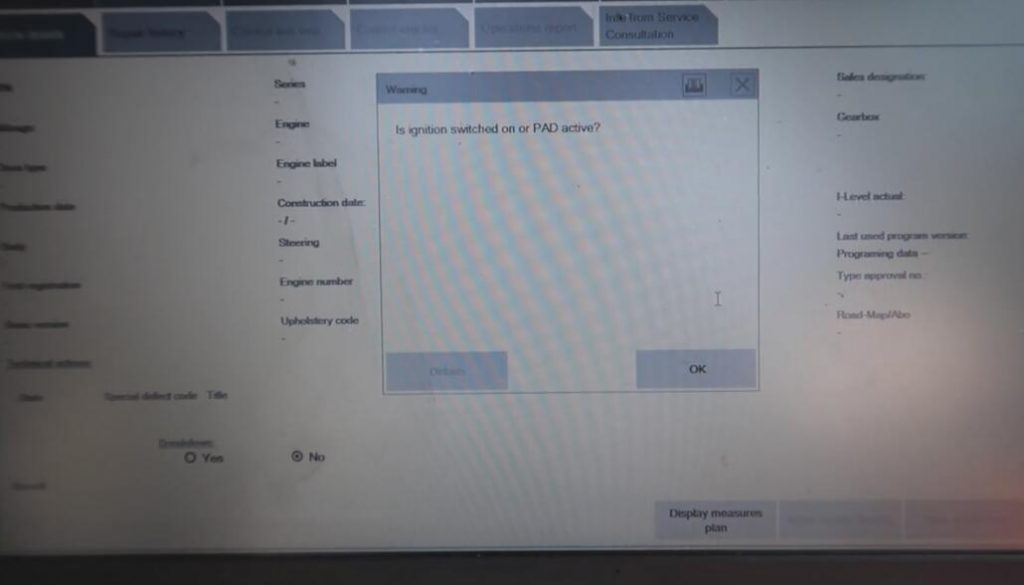
A common issue with ICOM NEXT is encountering errors such as “Is your ignition on or is your pad currently active?” when trying to connect.
- Faulty Units:
- Many ICOM NEXT units are clones and might be faulty. This issue is not related to software but to the hardware itself.
- If all green lights are on but the device is still not working, it might be due to a faulty board inside the ICOM NEXT. These units are unable to switch between different communication lines (PT-CAN and K-line) fast enough to register with the car.
- Distinguishing Faulty and Working Units:
- Faulty units might not show voltage on the graph during diagnostics.
- To confirm if an ICOM NEXT is faulty, try using a known working unit. If the working unit shows voltage and connects properly, your previous unit is likely defective.
Using a Working ICOM NEXT
After confirming a faulty ICOM, switch to a working ICOM NEXT:
- Replace the Faulty ICOM:
- Disconnect the faulty ICOM and replace it with a working one.
- Reconnect all cables as before.
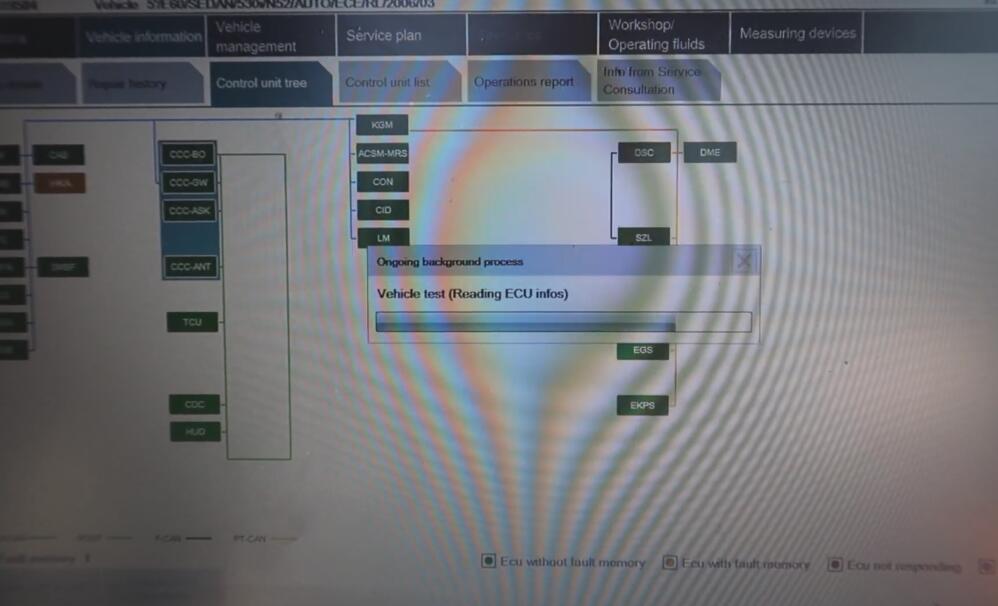
- Scanning the Vehicle:
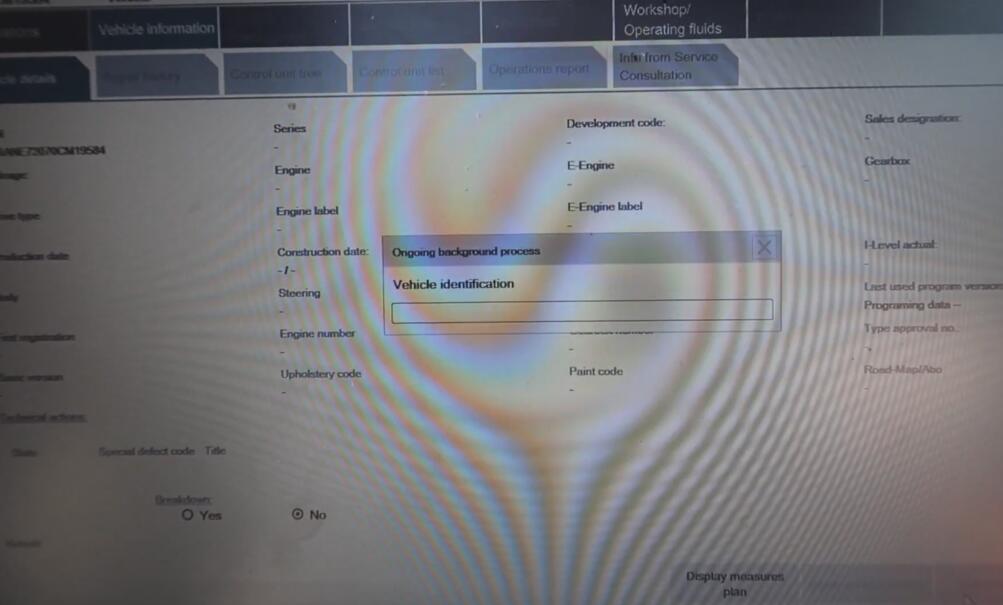
- Open ISTA and perform the vehicle identification process again.
- This time, the system should show the voltage and connect properly.