What is Mike’s Easy BMW Tools?
Mike’s Easy BMW Tools gives users a single simple installation that provides them the latest version of the standard BMW tools including all the English patches needed to make the tools usable for English speaking users. The package takes care of almost all the configuration necessary to get up and running and makes it easy for novice users to dive in to coding and diagnostics without the need for figuring out how to configure installations.
Thank’s to Mike’s generosity,share this useful BMW software to us.
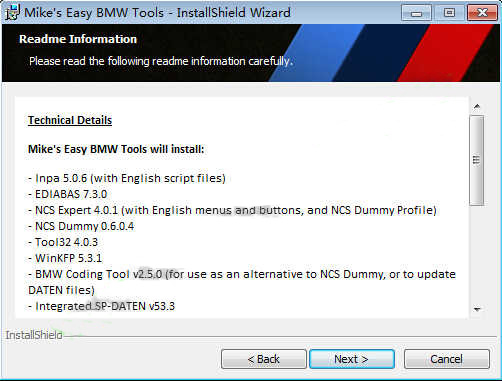
Mike’s Easy BMW Tools will install:
– Inpa 5.0.6 (with English script files)
– EDIABAS 7.3.0
– NCS Expert 4.0.1 (with English menus and buttons, and NCS Dummy Profile)
– NCS Dummy 0.6.0.4
– Tool32 4.0.3
– WinKFP 5.3.1
– BMW Coding Tool v2.5.0 (for use as an alternative to NCS Dummy, or to update DATEN files)
– Integrated SP-DATEN v53.3
Models Supported
E31, E34, E36, E38, E39, E46, E52, E53, E60, E65, E70, E83, E85, E87, E90
F01, F02, F07, F010, F011, F025, F30
Mike’s Easy BMW Tools Download:
https://mega.nz/#!wdIDSSTK!8TPthuUzAyqSqIIGJH47O4-b4CBMjIcUBVKgNzL_yxU
And if you need download BMW Tool software separately:
BMW INPA 6.4.3 Software Free Download
BMW E-sys 3.30.01 3.29.0 3.28.1 Coding Software Download
BMW Standard Tools 2.12 Free Download
NCS Expert BMW Coding Software Download
BMW Coding/Flashing/Progrmming PDF+Video Guide
If you need 2021 BMW ISTA+ 4.27.31 version please refer:
BMW ISTA+ 4.30.30 & ISTA-P 3.67 Download & Installation 100% WORK
Installation Guide:
Here take Window 7 as a example,the installation guide on other is same as.
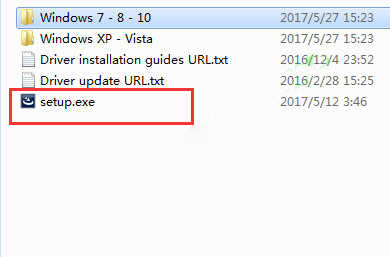
After the zip file downloading completing,decompressed it and run the “setup.exe”
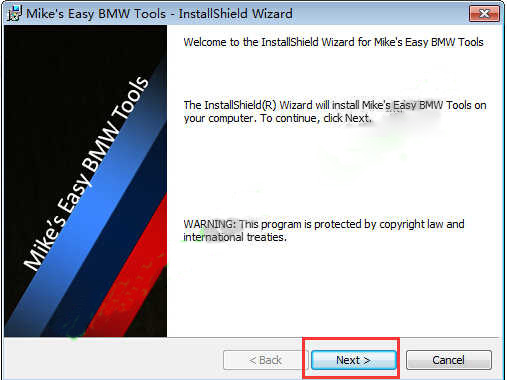
Click “Next”
Next
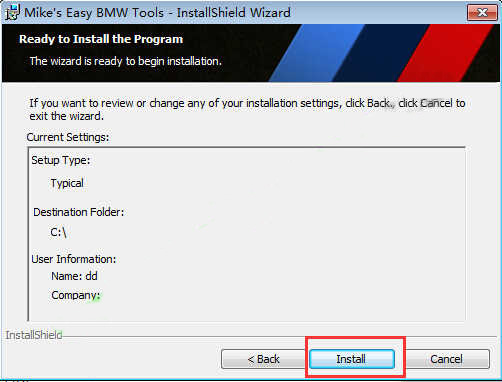
Select “Install”
Please wait while the InstallShield Wizard installs Mike’s Easy BMW Tools.
This may take several minutes.
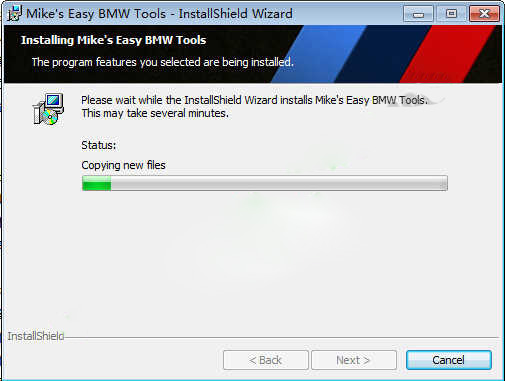
And the just wait for installation completed
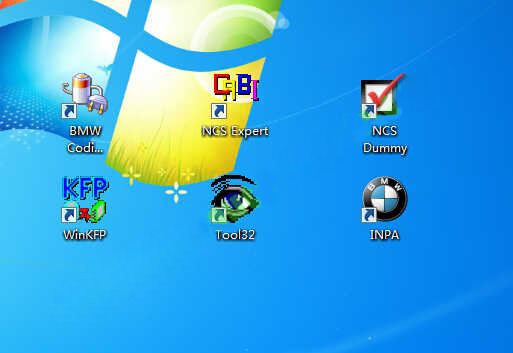
And click “Finish”.
Final Step:
The only thing left to do is get your USB/COM cable working. During the installation the drivers for your cable were installed. If you plug in your cable now, Windows should recognize it and start installing it.
After it is done, we have one thing left to do – we need to ensure the cable is using the right port number on your computer.
First, open Control Panel (Start > Control Panel)
Next double click System (If you don’t see System, make sure the View By on the top right of Control Panel says Large Icons
In System, click Device Manager
In Device Manager, expand Ports (COM & LPT) and find USB Serial Port. If it says COM1, you’re good to go. If not, continue with the instructions
Right click the USB Serial Port and choose Properties
Under the Port Settings tab, choose Advanced
Under the COM Port Number, choose COM1