When you connect the interface, you’ll first see a single flashing power light. Later, once everything is properly connected, the USB light should turn solid. However, sometimes a red status light appears instead. This tends to happen when switching between different cars, likely due to specific vehicle data being fed to the interface. To ensure proper connectivity, the interface may need to update. Despite the red light, the connection should still work as it will load new firmware once we proceed with the diagnostics.

Upon connecting the interface, the power light will flash green, and the status light may initially be red, indicating that new firmware needs to be loaded. No need to turn on the ignition or insert the key—just start the diagnostic software. Once in the diagnostics menu, I have it set to development mode for demonstration purposes. At this stage, the system will begin downloading the necessary firmware.
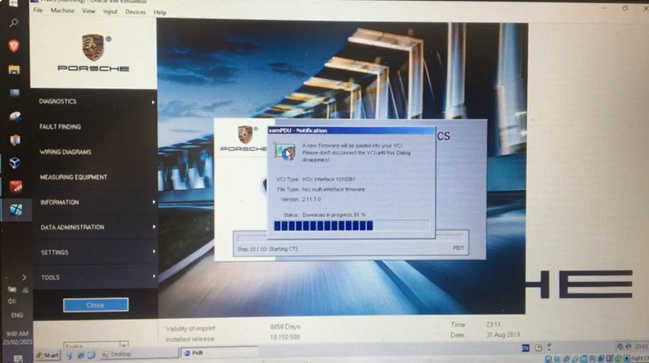
Since I’ve used this interface on another car, it must download new firmware. Once the update process begins, the interface will attempt to reconnect automatically. If it fails, it may prompt you to start in simulator mode. If this happens, simply press the “F8” button to retry the connection. Normally, this resolves the issue and allows the interface to establish a stable connection. At this point, the USB light should be solid green, and the red status light will disappear, indicating a successful connection.
If the connection doesn’t immediately succeed, press “F8” to attempt another connection. This usually resolves the issue. Once connected, switching between development mode and standard after-sales mode requires a minor adjustment in settings. I recommend waiting about 10 seconds after closing the program before reopening it, as it sometimes takes a moment for the system to fully reset.
After exiting the program, wait around 10 seconds before reopening it and changing the settings. Switching modes itself isn’t difficult, but allowing the system time to process the change ensures everything functions correctly. Now, I’ll switch back to after-sales mode, save the settings, and exit. Once again, I’ll wait 10 seconds to ensure a smooth transition. The interface now displays a single flashing green power light, which confirms that it’s ready.
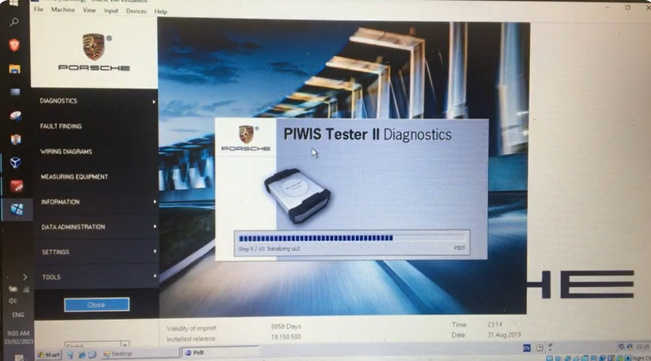
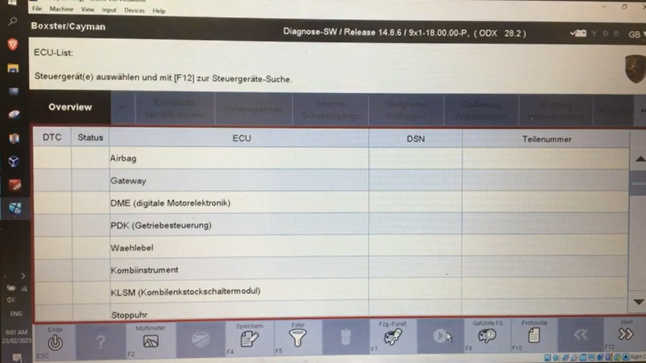
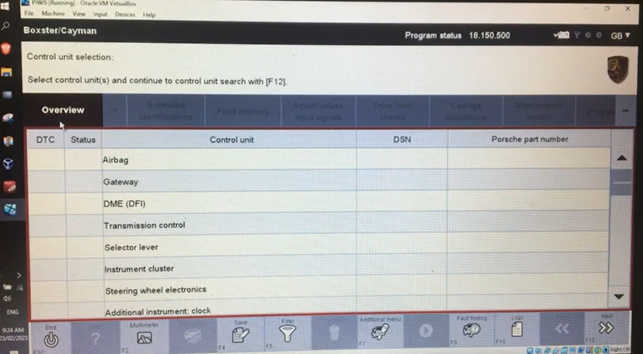
After waiting, I reopen the diagnostics software. With a solid green USB LED, the connection is fully established. At this point, I need to turn on the ignition. Without ignition power, only some control units—like the gateway—will be active since the vehicle is only receiving power from terminal 30 (direct battery connection). However, most control units remain inactive until terminal 15 (ignition power) is supplied.
Once the ignition is turned on, all control units become accessible. Some, such as the transmission and engine (DME), require the engine to be off to delete fault codes. If you attempt to delete codes while the engine is running, certain control units won’t allow it. In such cases, turn off the ignition, return to the main diagnostics page, then restart the ignition before reattempting code deletion.
Before shutting off the ignition, always return to the main diagnostics page. Some control units can behave unpredictably if the ignition is turned off while they are still open. Additionally, the software provides customer-specific settings, but availability varies by control unit. For instance, engine and transmission settings often cannot be changed, whereas other areas offer configurable options.
Certain settings can enhance convenience but may not be legal in all regions. Be sure to verify local laws before making changes. For example, in the instrument cluster settings, you can access coding adaptations under customer-specific settings. Available options may include modifying tire pressure monitoring values or adjusting winter-to-summer transition thresholds.
One frequently adjusted setting is the speed warning chime. In some regions, vehicles issue a constant chime when exceeding 120 km/h. If permitted, this can be disabled. Similarly, seat belt warnings can be turned off, which is useful if you frequently make short stops (e.g., retrieving mail) and don’t want to hear the chime.
The seat belt warning has both an acoustic and optical component. These can be disabled separately in the coding menu by setting them to “inactive” and “off,” respectively. Once written to the system, the warning will no longer appear.
Air conditioning settings mainly affect center console buttons, such as those for Sport, Sport Plus, and exhaust settings. The left and right button groups cannot be swapped, but buttons within each group can be reassigned.
For example, if you don’t want to use Sport Plus, you can unassign it to prevent accidental activation. This can be particularly useful if you frequently drive in sport mode but want to avoid sudden high-revving situations.
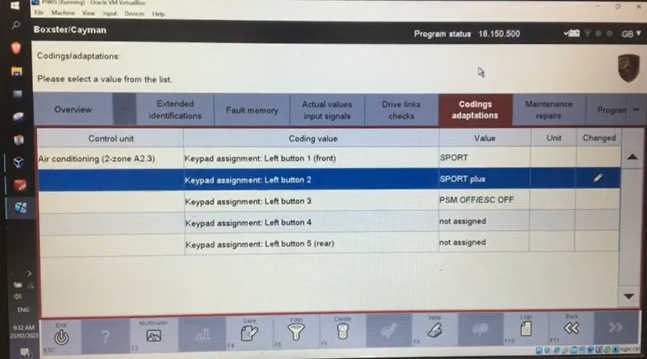
This coding menu is also where you’d enable aftermarket Sport Plus functionality. The front PCM settings allow changes such as acoustic feedback for locking and window comfort opening. Even though some features are region-restricted, they can sometimes be enabled via coding.
Enabling acoustic feedback for locking makes the car emit two chirps when locked. The window comfort opening setting determines whether holding the key fob unlock button lowers the windows. However, if both window and roof comfort opening are enabled, the window function takes precedence, preventing the roof from opening.
If both options are enabled, window comfort opening overrides the roof function. Interestingly, even if both are set to “no,” the roof function may still work, possibly due to country-specific default settings.
Seat adjustments vary by model year. This vehicle has manual seats, whereas my older model has memory seats. The memory seat settings allow fine-tuning of entry and exit positions.
For memory-equipped seats, you can adjust how much they move when entering or exiting. These options may not be available on all models but can be useful for customizing seat positioning.
Comfort entry settings for the passenger seat may be adjustable on newer models, allowing additional customization. If available, these settings can improve ease of access and personalization for different drivers.
More topics for Porsche machine,please refer to:Porsche Trouble Repair.