VXDIAG Hardware Connection have three connection mode :
USB Connection
LAN Connection
WiFi Connection
VXDIAG USB/LAN Connection
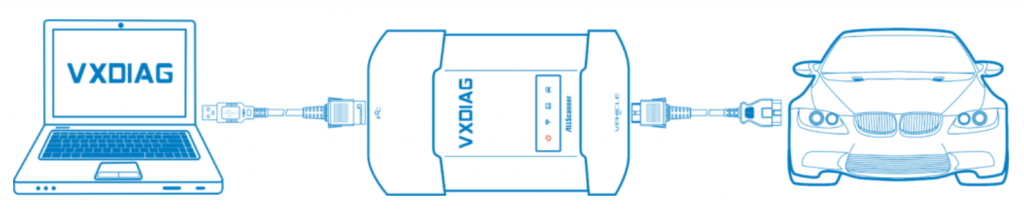
Connect OBDII cable to the vehicle 16pin diagnostic port, and USB/LAN cable to the computer.
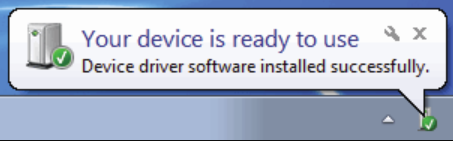
After device boot complete, the power led will flash, and the buzzer will prompt.Install USB driver for Windows 7/8/8.1/10The first time to connect USB cable to the computer, Windows will prompt [Installing device driver] . Windows automatically complete driver installation.
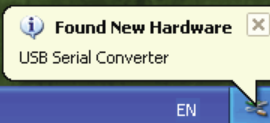
Install USB Driver for Windows xp
The first time to connect USB cable to the computer, Windows will prompt [Found New Hardware]
Please follow these steps to complete USB driver installation.
1. Select [No, not this time], then click [Next]

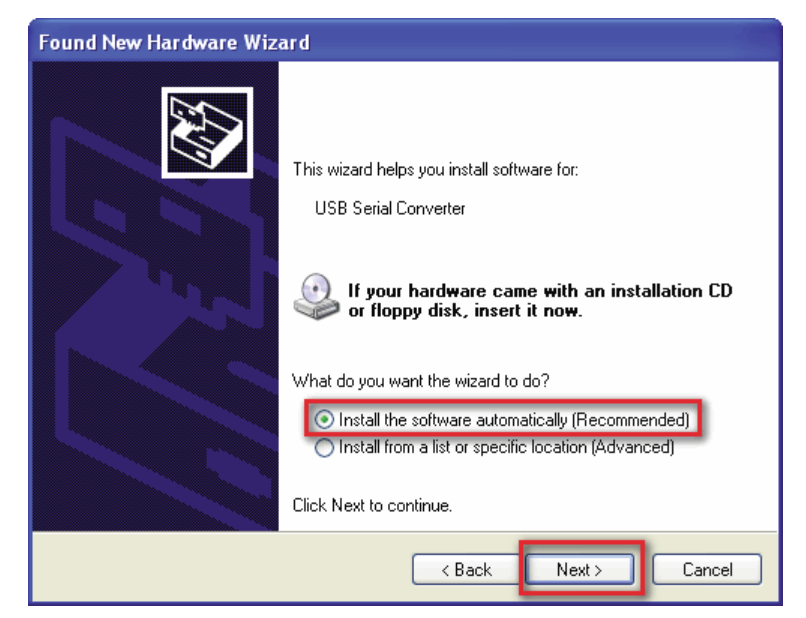
2.Select [Install Driver Automatically], then click [Next]
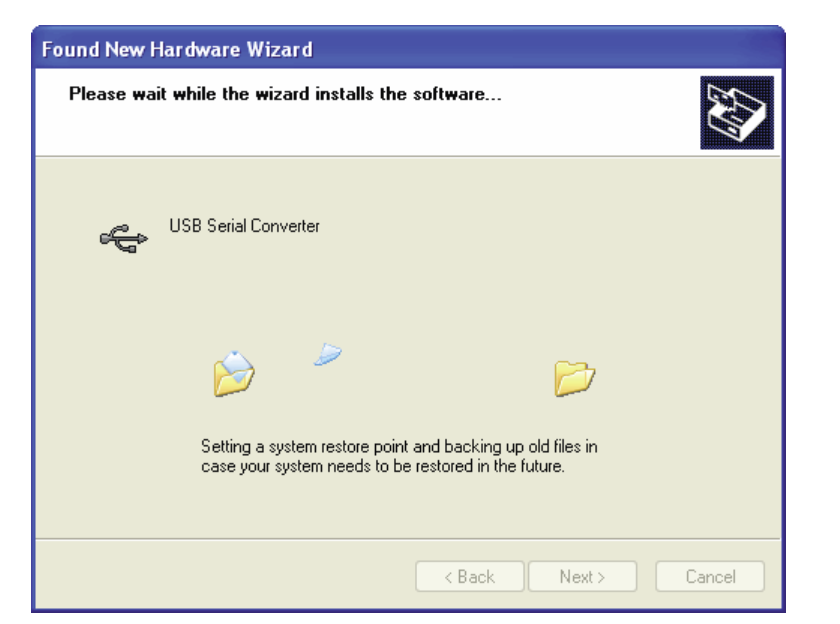
3.Please wait while the wizard installs the software
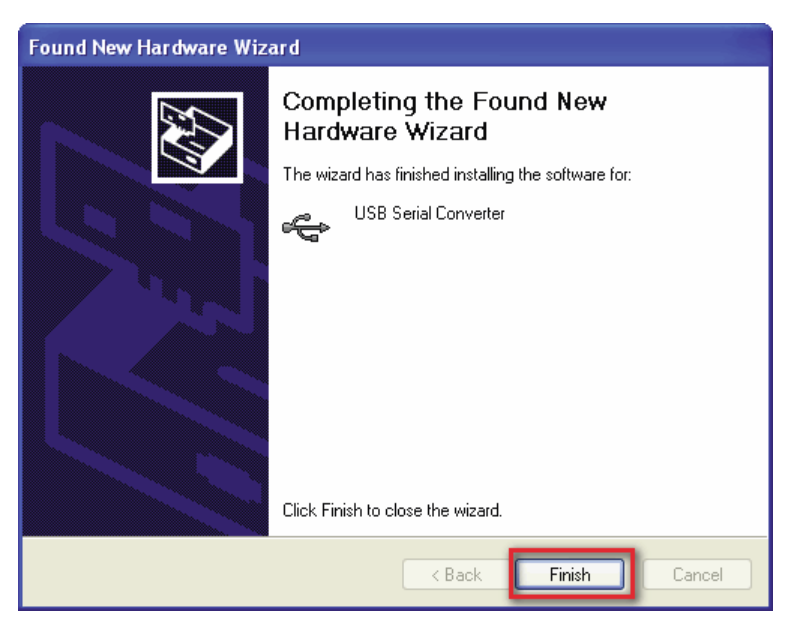
4.Complete Found New Hardware Wizard, click [Finish]
5. Thereafter, it will pop up the second time [Found New Hardware Wizard], same as above.
6. The USB Driver installed completed
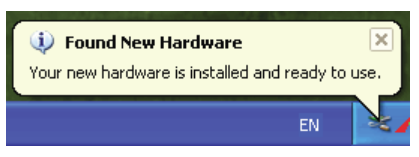
After USB driver is successfully installed, PC LED will flashing.
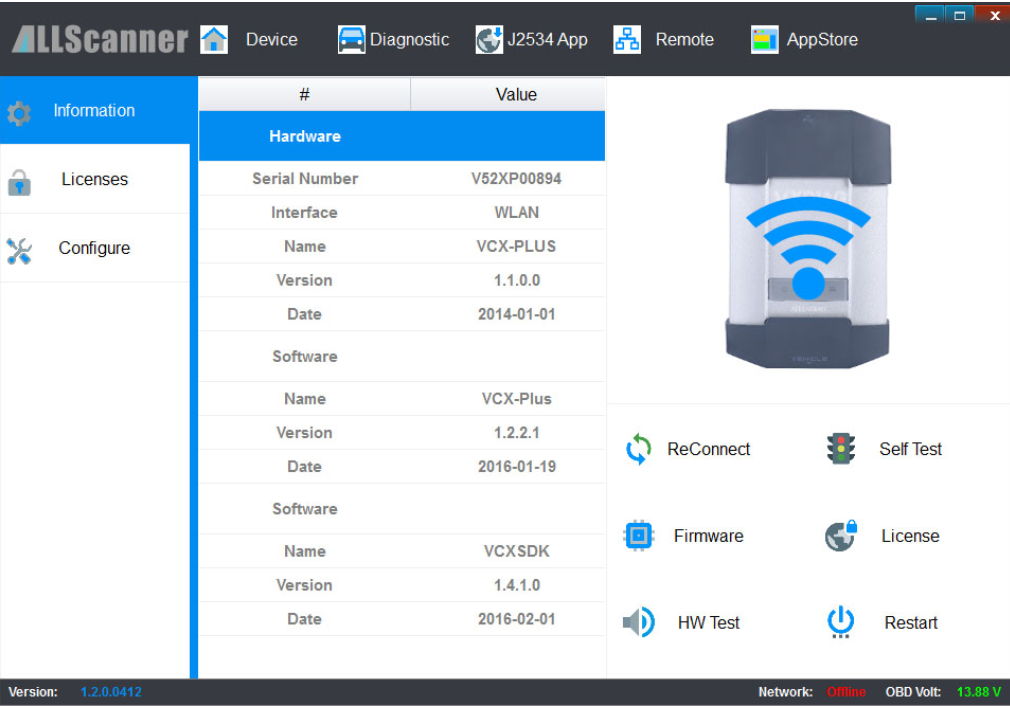
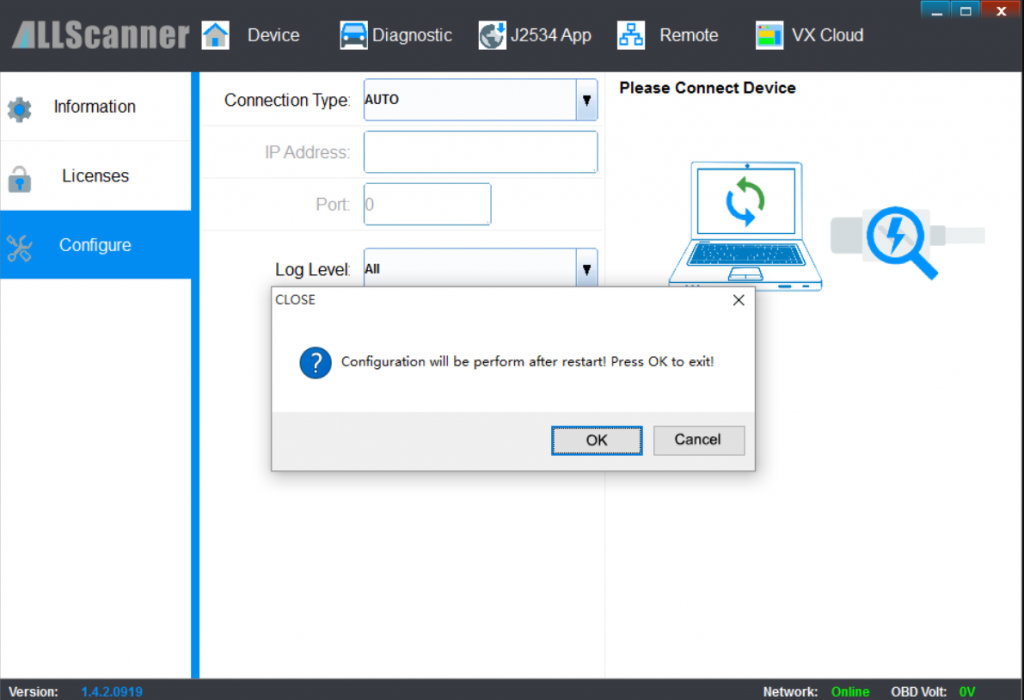
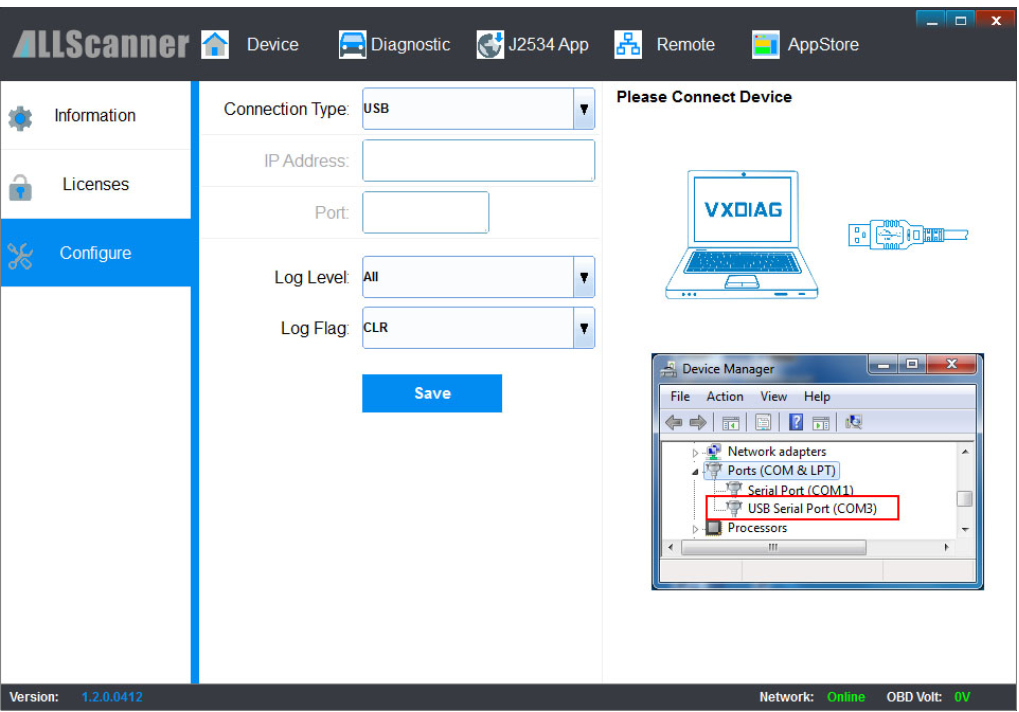
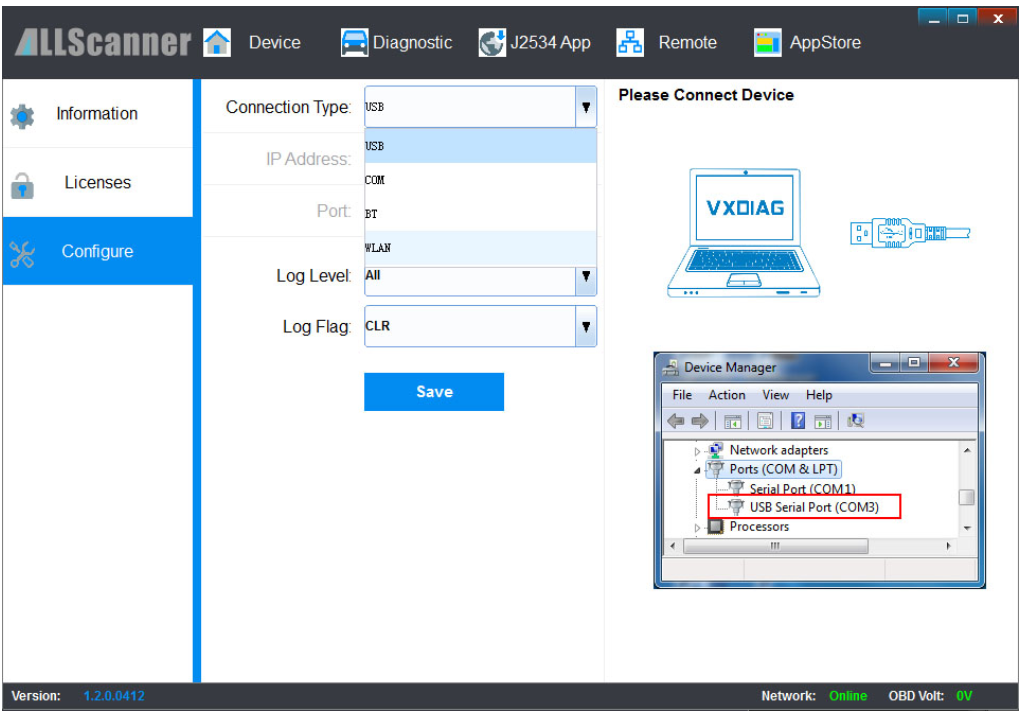
7. Start VX Manager program,select [Device],then click [Configure], Connection Type select [Auto],click [Save],Restart VX Manager program
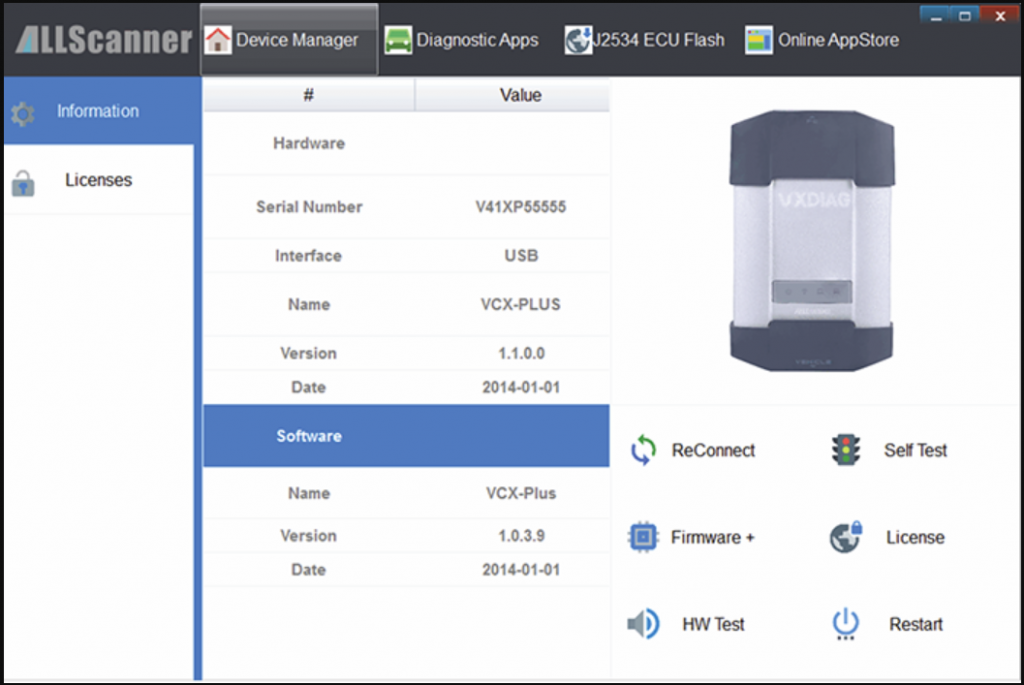
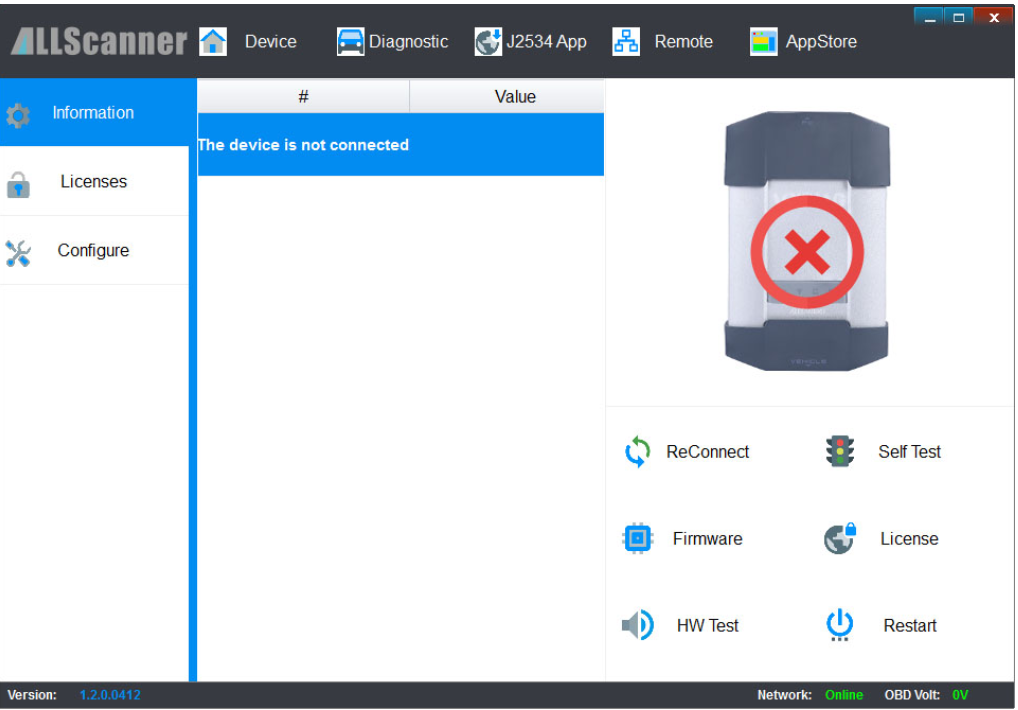
Please make sure the device is connected.
Run VX Manager, The information of device will be displayed in “Device Manager”
VXDIAG WiFi Connection
Connect OBDII cable to the vehicle 16pin diagnostic port, and computer connect to the device through WiFi.

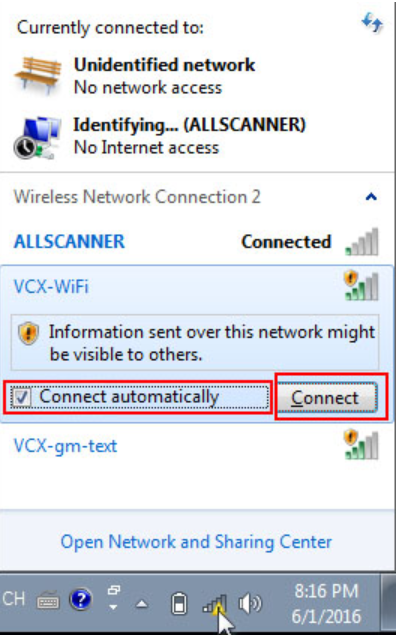
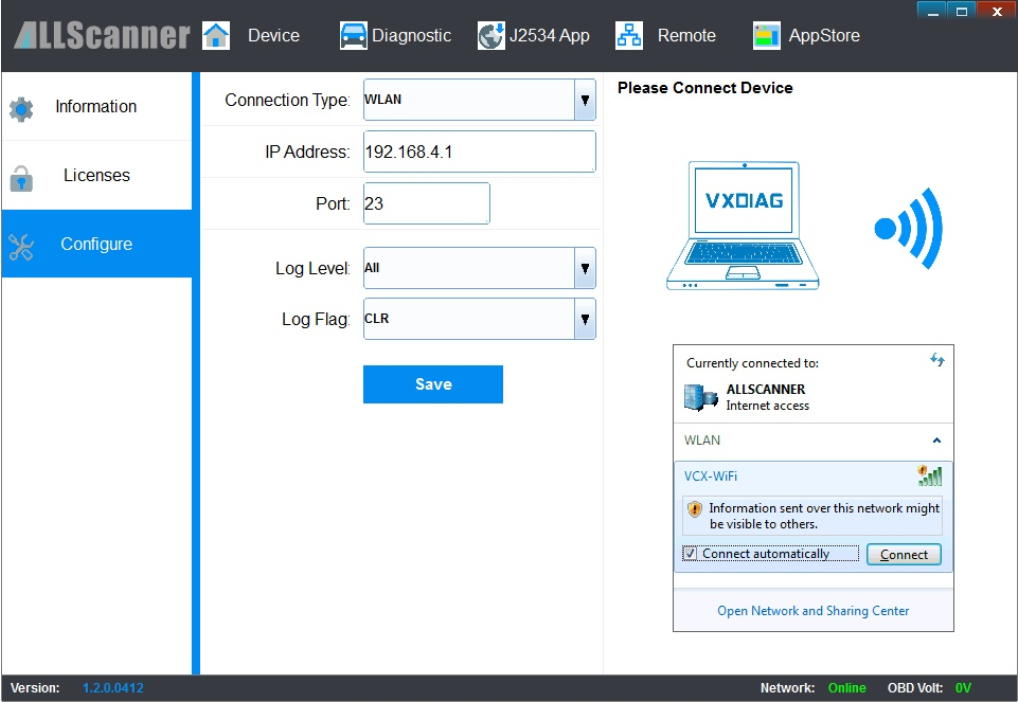
1.Click VCX-WiFi, and check [Connect automatically] ,then click [Connect]
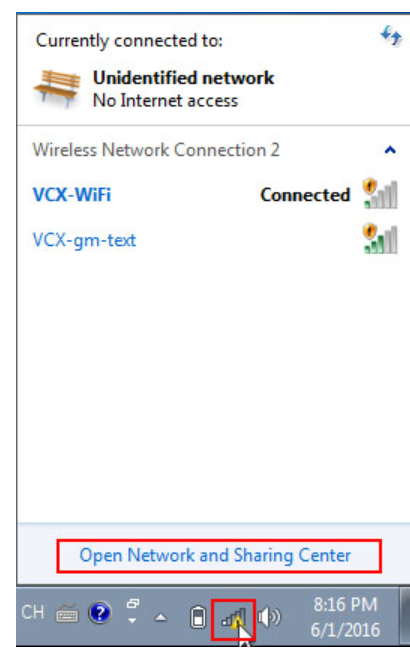
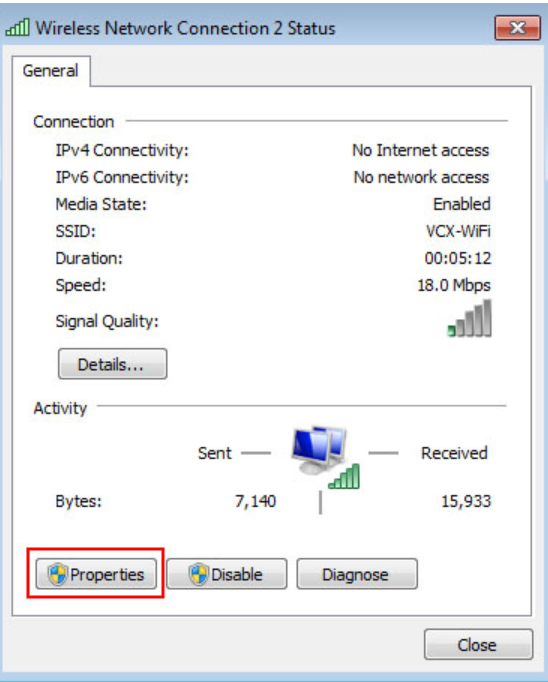
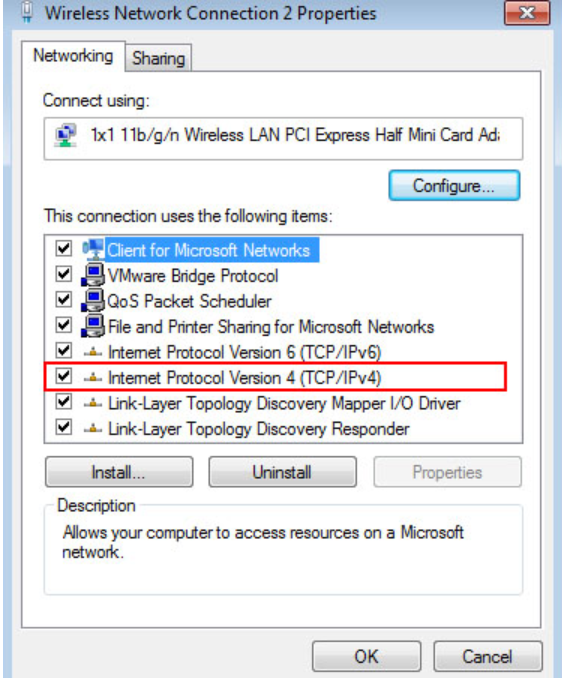
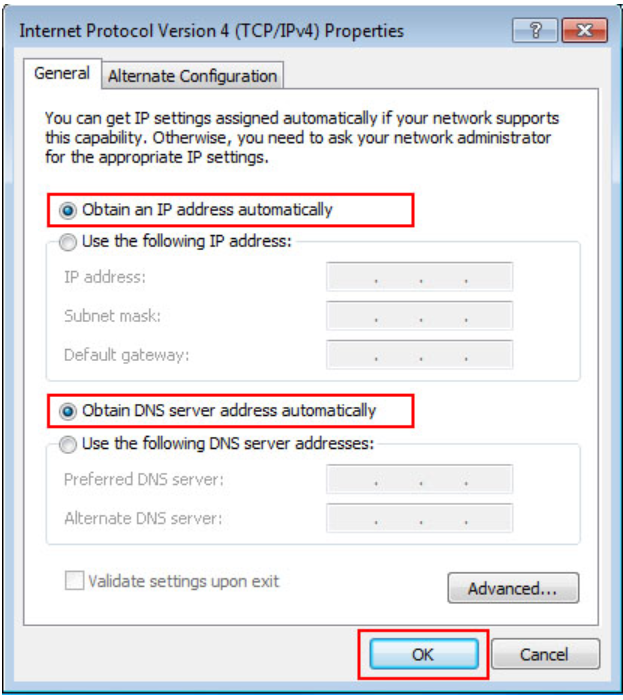
2.Setting obtain an IP address automatically

3.Start VX Manager program,select [Device],then click [Configure], Connection Type select [WLAN],click [Save]
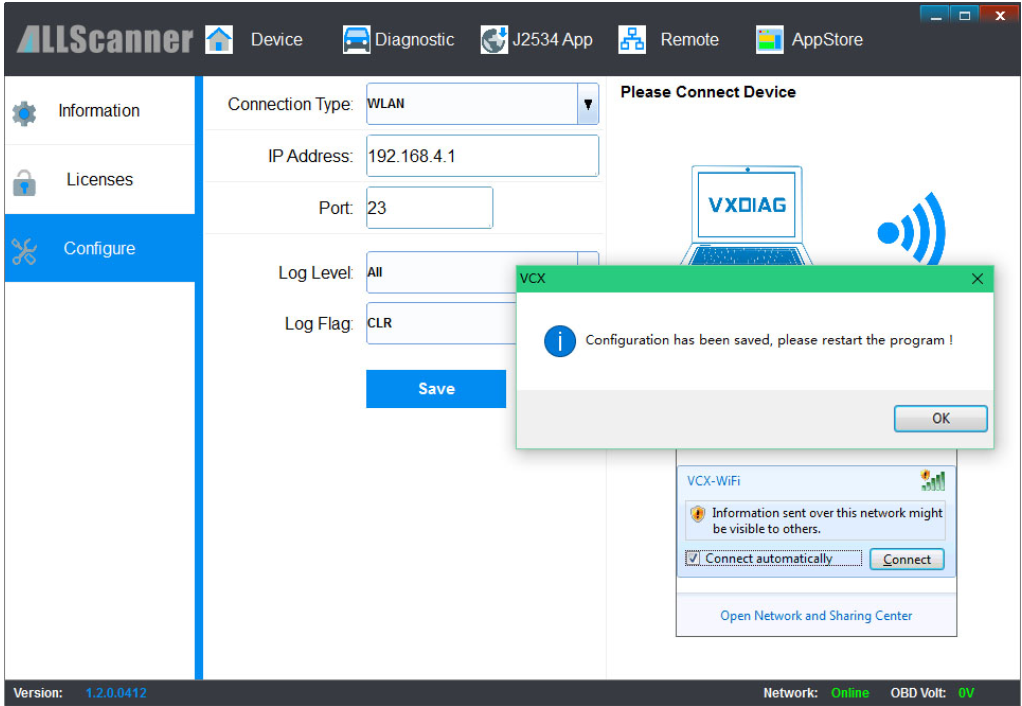
4.Restart VX Manager program,computer have been connected to the device through WiFi