This guide explains how to calibrate the mileage on a TOYOTA R7F701441 dashboard using the OBDSTAR ODO Master in bench mode.
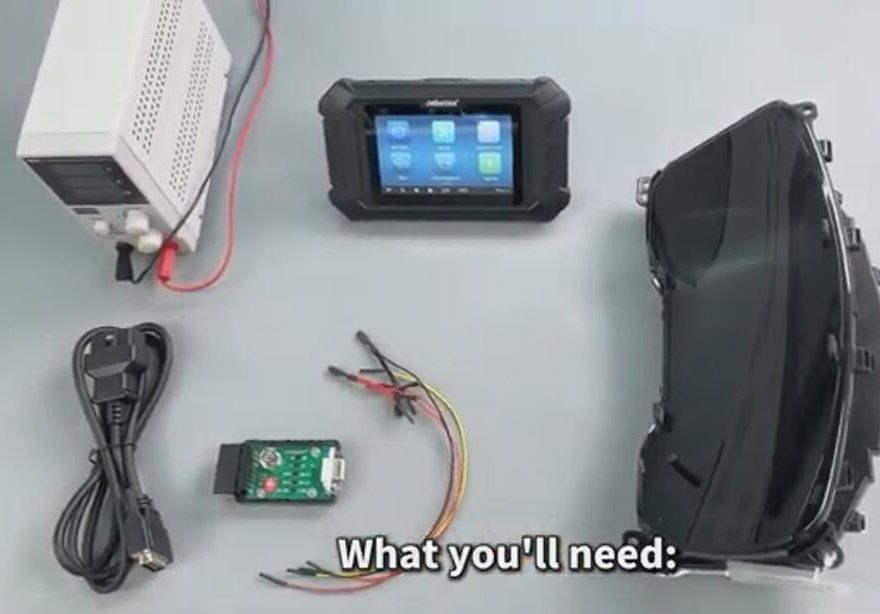
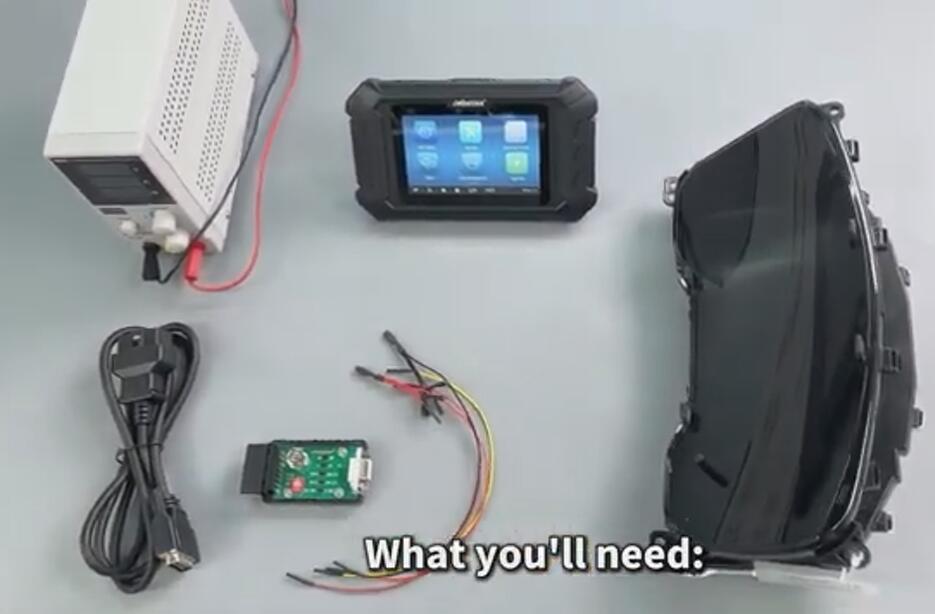
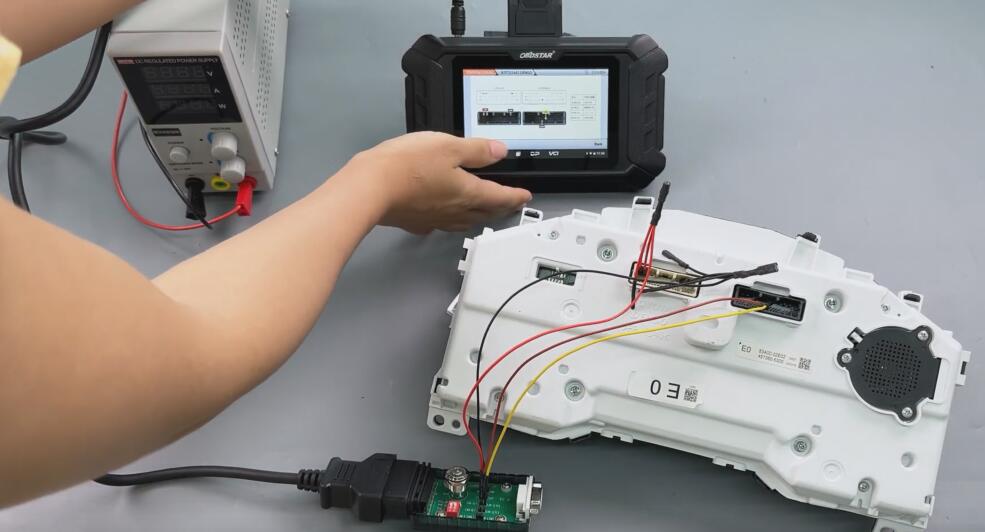
Tools & Equipment Required
- ODO Master (or X300 Classic G3)
- High-power DC regulated power supply
- Main cable
- P004 Adapter + Jumper
- TOYOTA R7F701441 dashboard
Tip: Update your ODO Master software to the latest version before starting.
Calibration Procedure
-
- Launch ODO Master
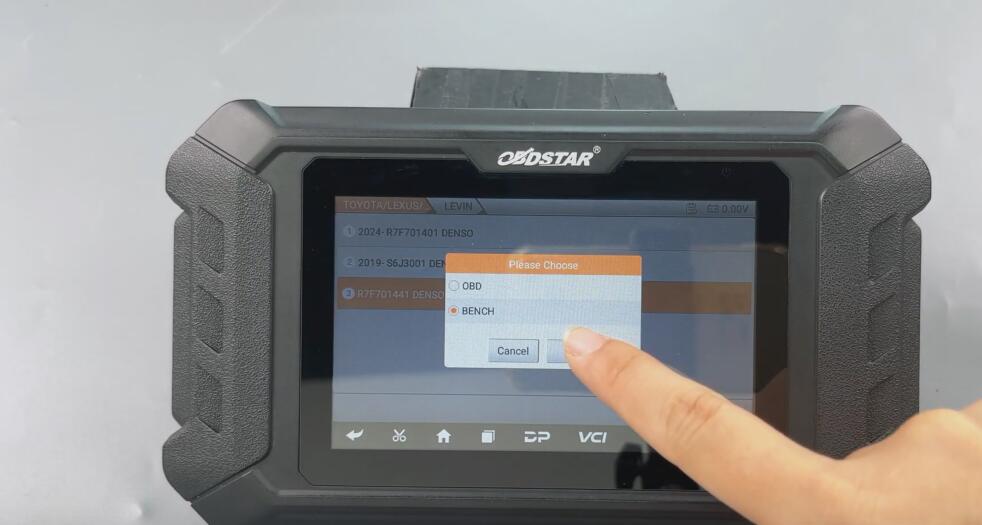
Navigate to:
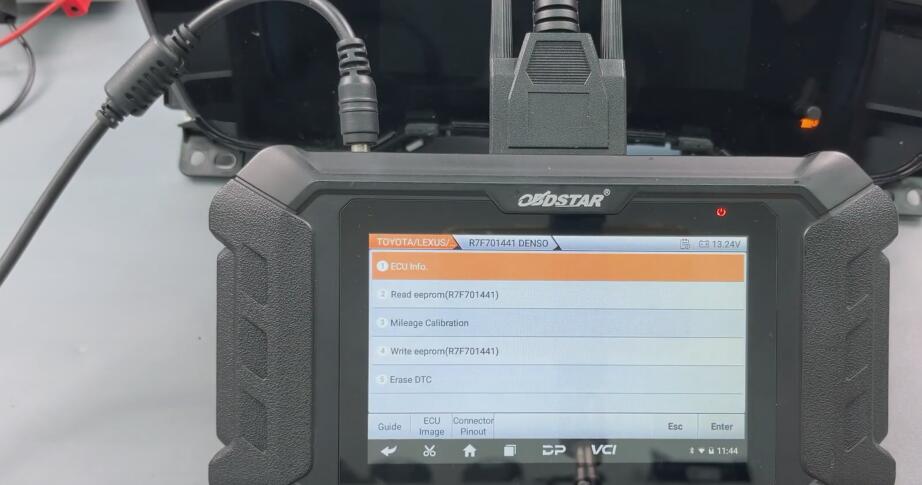
ODO Meter >> AGREE >> TOYOTA/LEXUS/DAIHATSU >> Latest version >> TOYOTA >> LEVIN >> R7F701441 DENSO >> BENCH
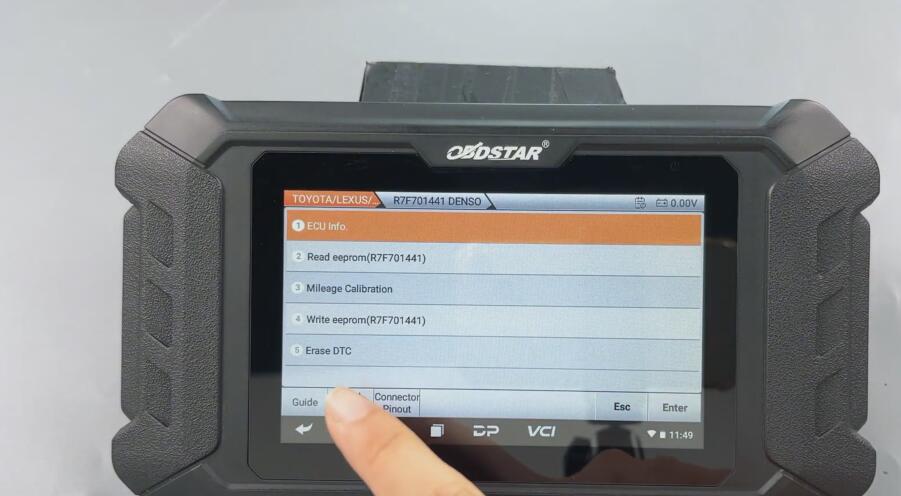
- Review Guide Information
-
- Tap “Guide” to read the function overview, menu description, and connection methods.
- Follow the wiring diagram to set up the connection.
-
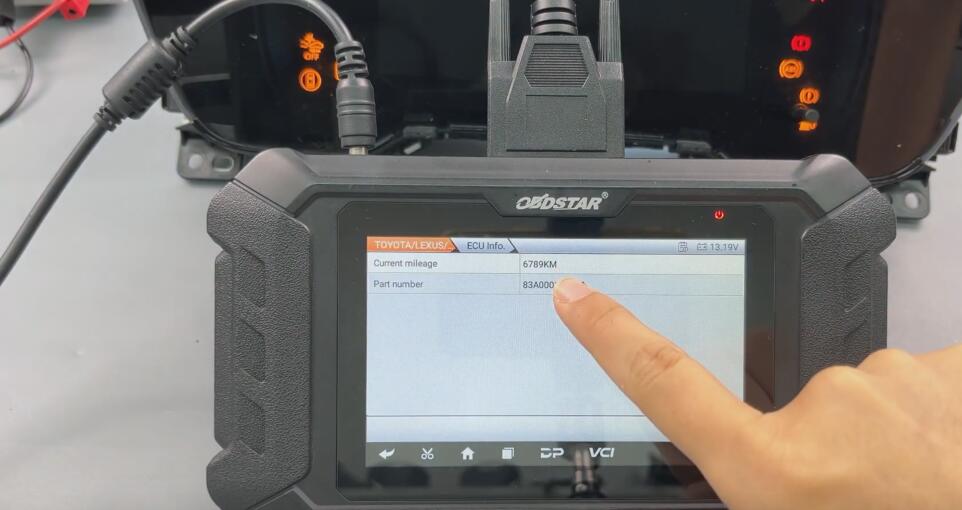
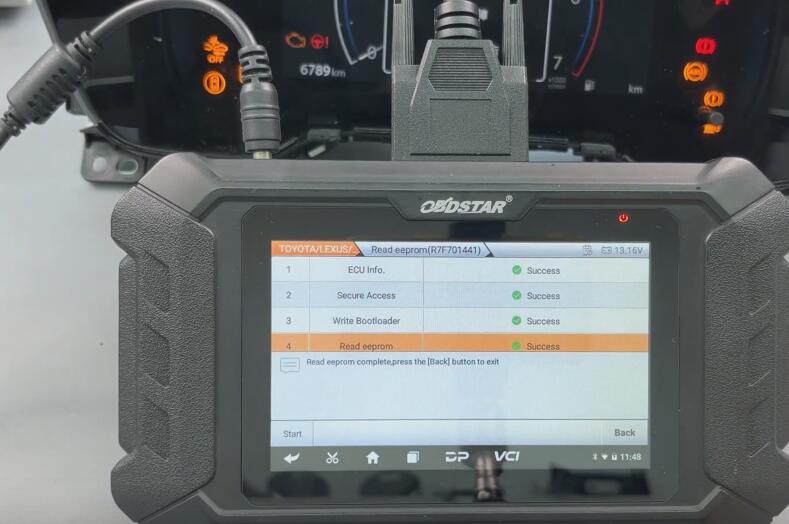
- Check ECU Information
-
- Select ECU Info. to verify the dashboard’s data.
- Example original reading: 6789 km
-
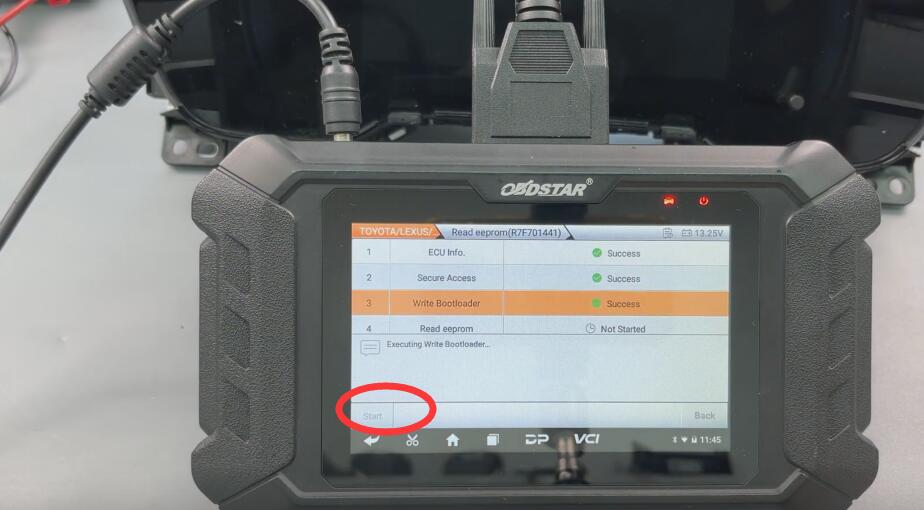
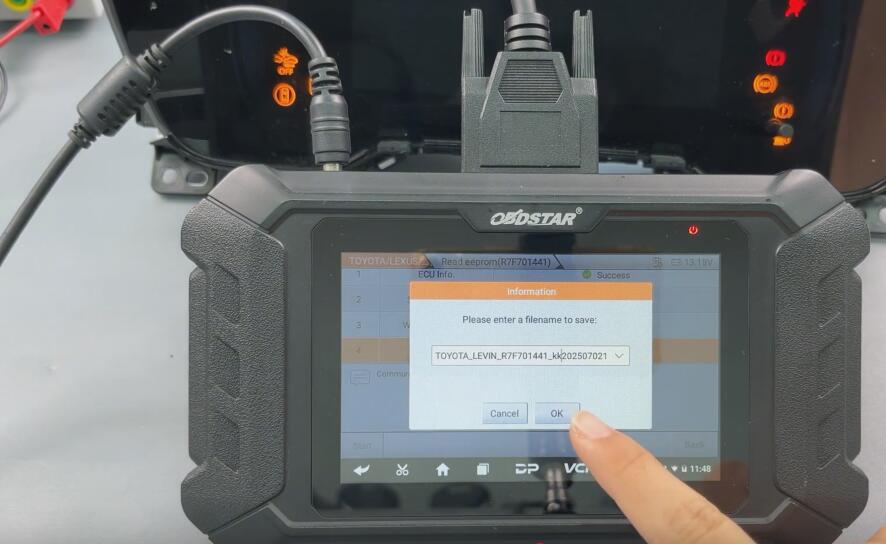
- Read EEPROM Data
-
- Select Read EEPROM (R7F701441) >> OK >> Start
- Save the EEPROM file.
-
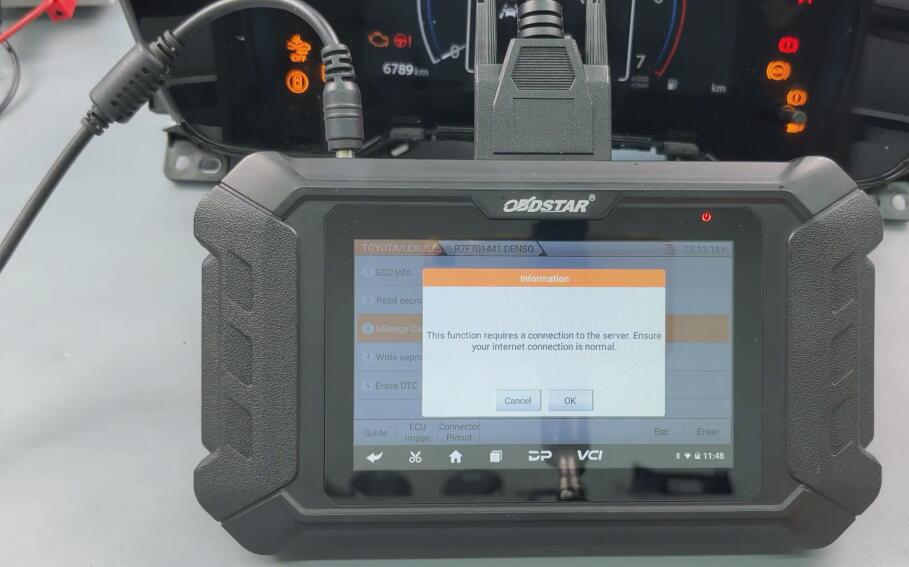
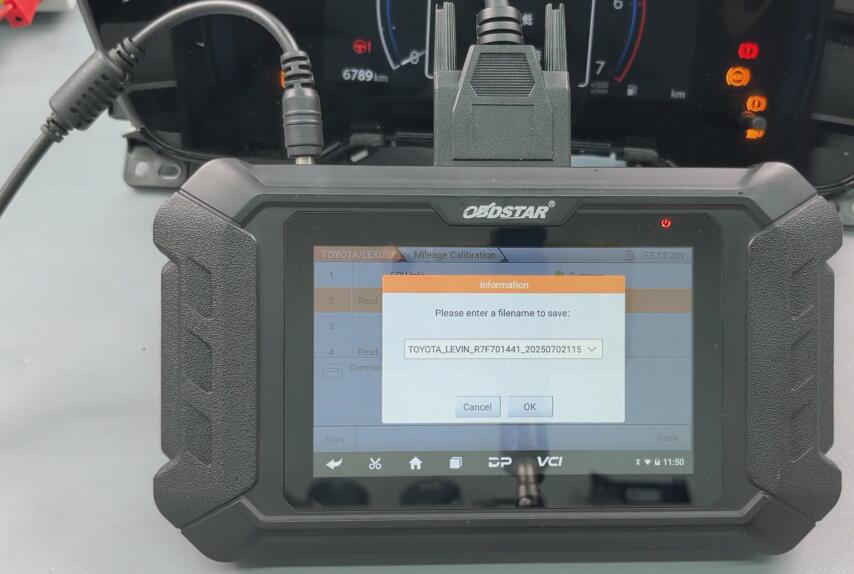
- Mileage Calibration
-
- Go to Mileage Calibration >> OK >> Start
- Save the data file.
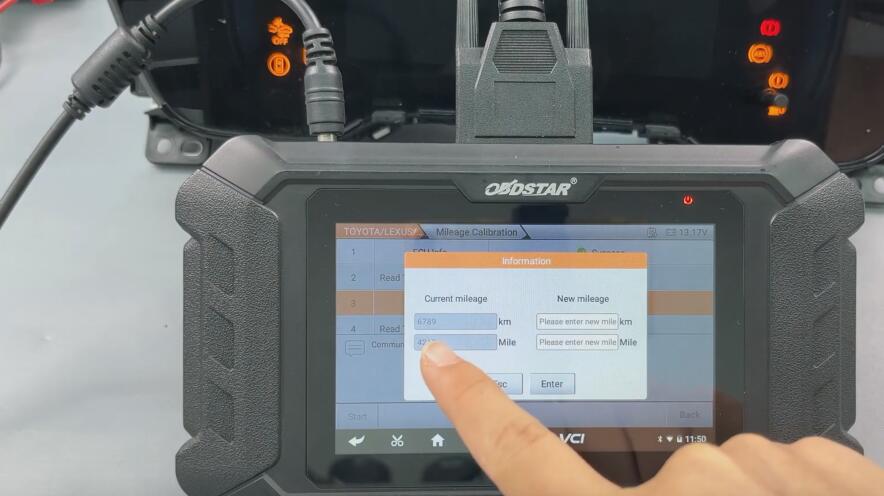
Note: If the mileage value differs by ~1.6 times compared to the dashboard reading, the dashboard is configured in miles. Divide the target mileage by 1.609433 before entering the repair value.
-
- Enter New Mileage
-
- Input the desired mileage (e.g., 6000 km) and tap Enter.
-
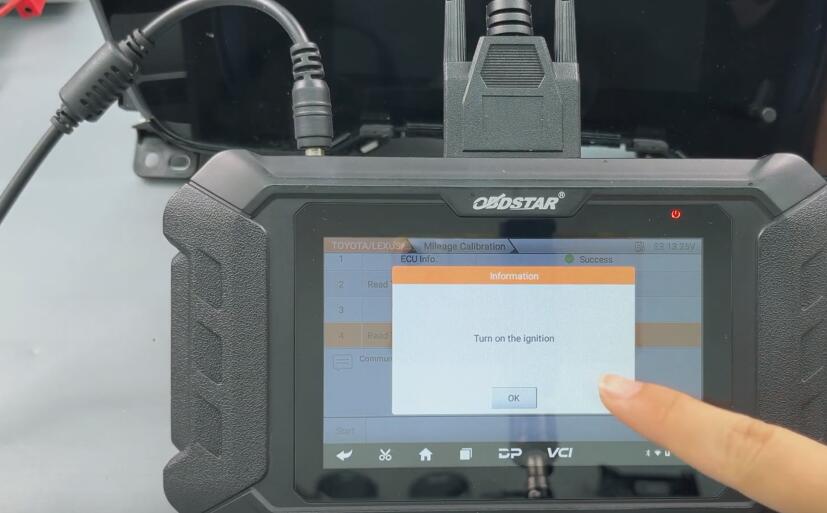
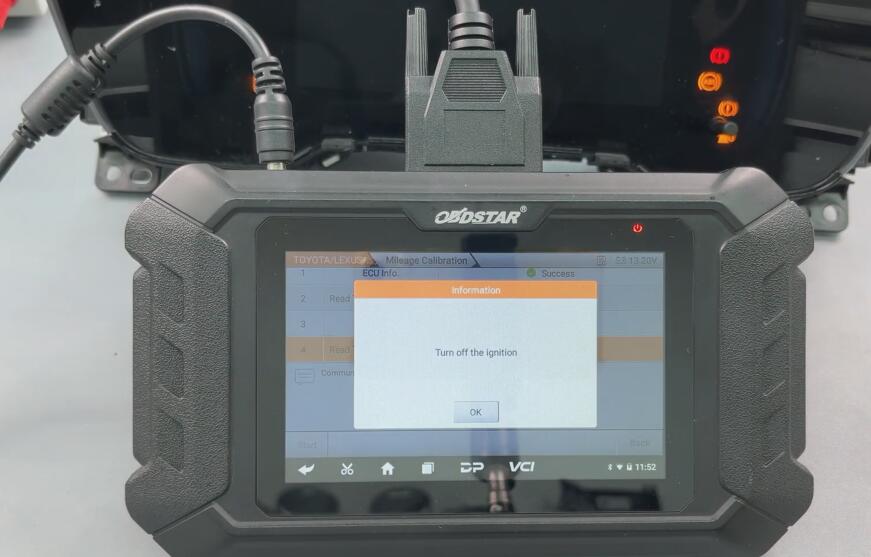
- Cycle Ignition
-
- Turn off the ignition.
- Turn on the ignition.
- Repeat this cycle once more.

-
- Launch ODO Master
✅ Mileage calibration is now successfully completed.