
This article show the guide on how to install Volvo Premium Tech Tool PTT diagnostic software.
To download the Volvo Premium Tech Tool software,the article include:
Volvo Premium Tech Tool v2.05.20
Volvo Premium Tech Tool v2.04.87
Volvo Premium Tech Tool v2.04.55
Volvo Premium Tech Tool Installation Guide:
Volvo PTT Installation Minimum Hardware Requirement:
Computer/Processor: Intel Core 2 Duo(1.6GHz) or equivalent AMD Athlon64*2
Memory(RAM): 3GB,more memory improves performance
Hard Disk: 20GB of free hard disk space
Optical Drive: Internal/external DVD x8 drive
Display: XGA(1024*768 PIXELS) or higher resolution monitor with 16 bit color settings
Input device: Keyboard and mouse or compatible pointing device
Internet connection: Network using 10 Mbps or higher speed network adapter and/or WLAN and/or 33.6 Kbps or higher speed moderm(not supported for Win7/8 clients)
Miscellaneous: USB interface required.A battery-pack that may provide 500 mA via USB.
Volvo Premium Tech Tool PTT 2.04.87
1/ open in admin setClientID.exe, set ID: 190430
2/ TechToolInstaller_Dev.reg
3/ TT204-Prerequisites.cmd (client update ID: 190430)
4/ TT204-MainInstallationPackages.cmd
5/ TT204-MainInstallationPackages2.cmd
6/ TT204-Patches.cmd
(Don’t open tech tool)
Open client update and make all update 2.04.87(it is very long)
Copy and Replace APCIPLUSDATA.DLL
C:\Program Files (x86)\Tech Tool\Tech Tool\Apciplus
(Replace the file APCIPLUSDATA.DLL thas is on M151124 user)
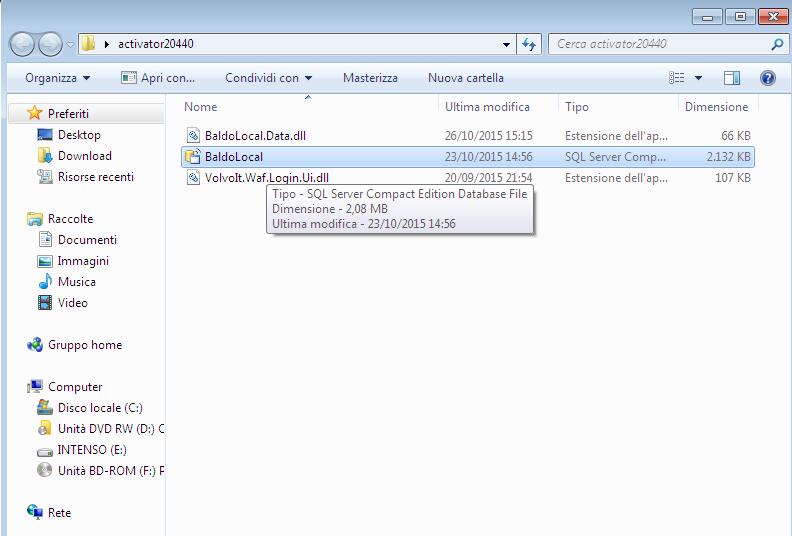
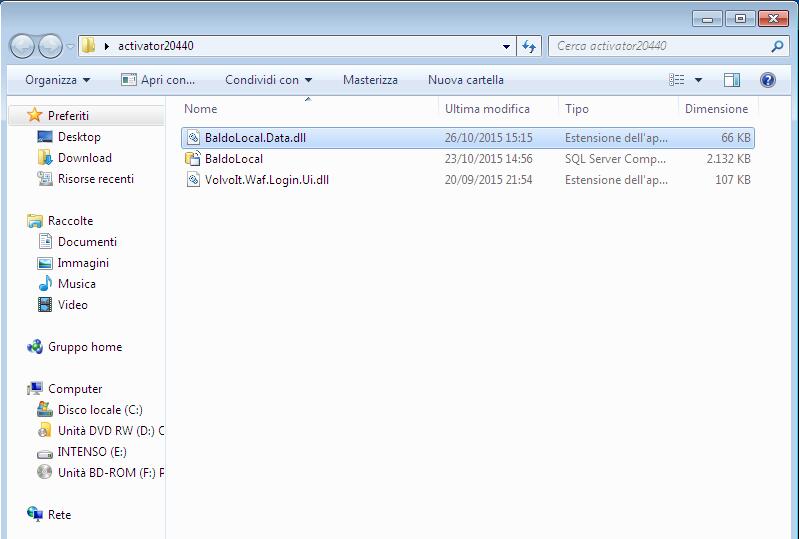
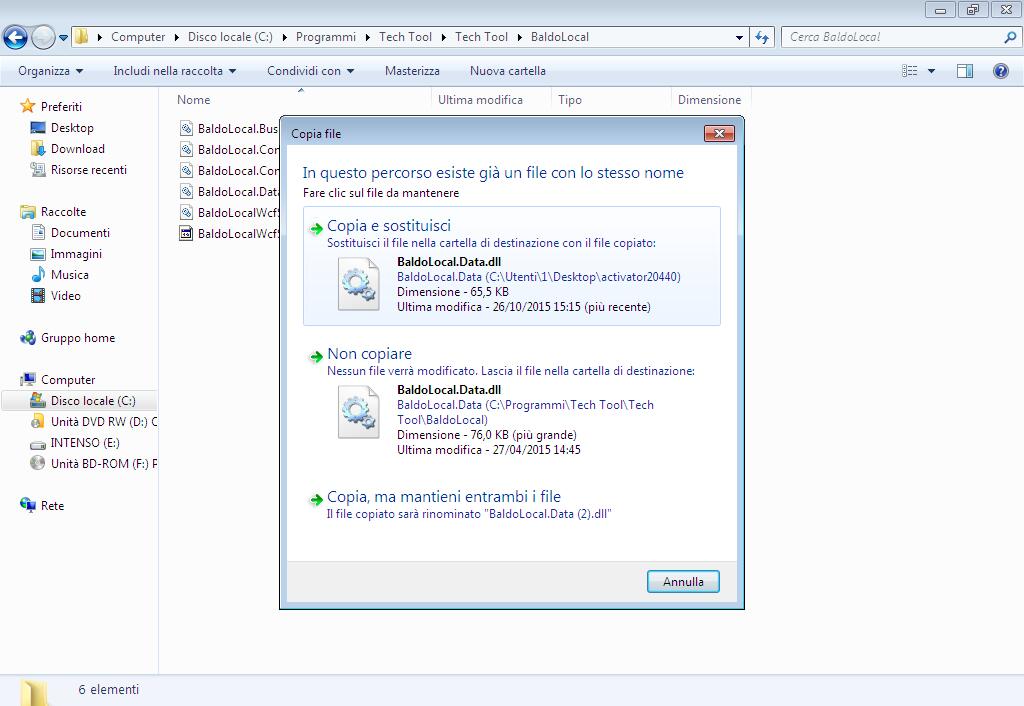
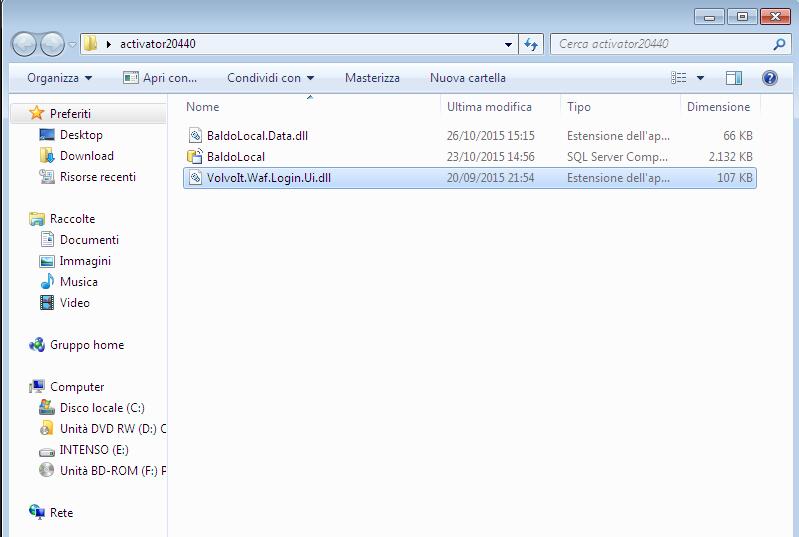
BaldoLocal.Data.dll >>
C:\Program Files (x86)\Tech Tool\Tech Tool\BaldoLocal
VolvoIt.Waf.Login.Ui.dll >>
C:\Program Files (x86)\Tech Tool\Tech Tool\Login
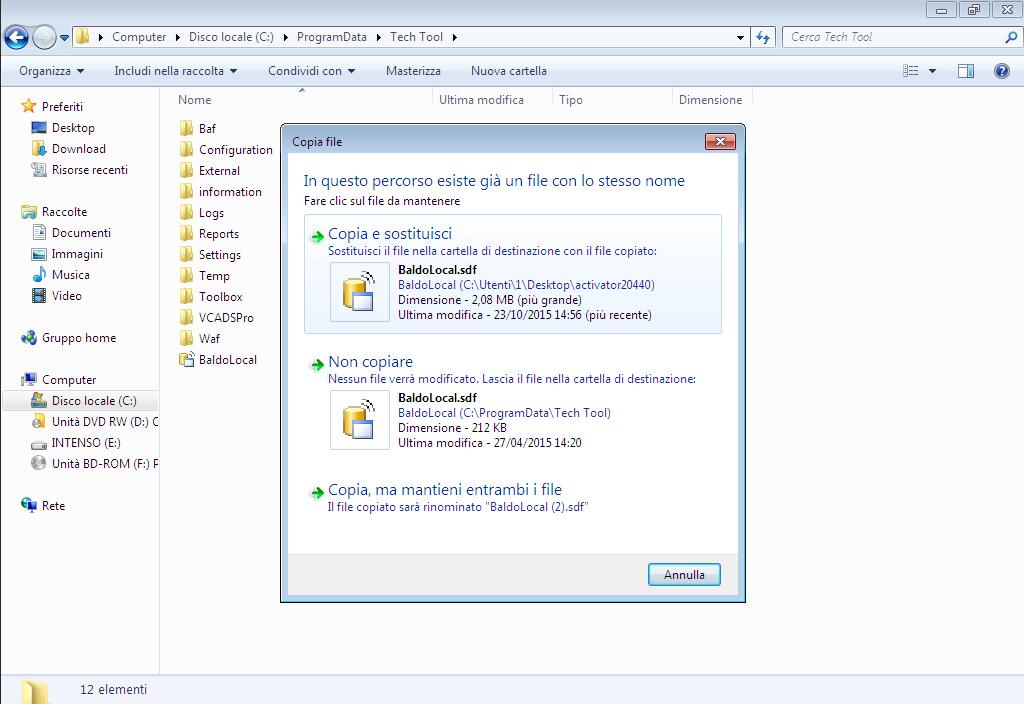
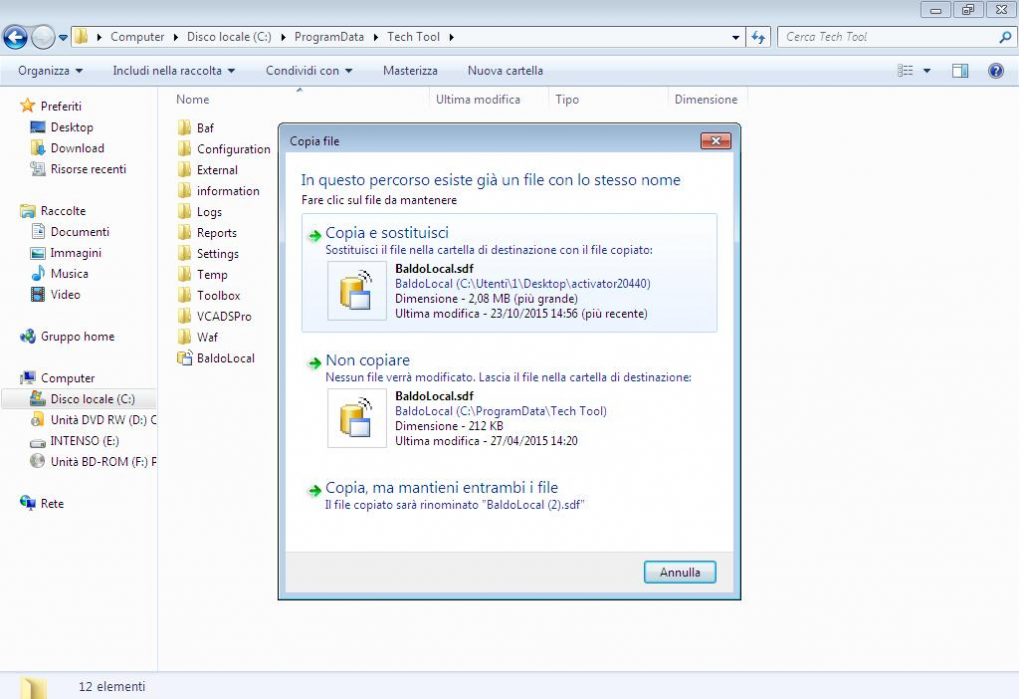
BaldoLocal.sdf >>
C:\ProgramData\Tech Tool
Copy and replace apci+ update / in these paths:
C:\ProgramData\Tech Tool\Waf\DtR
and C:\ProgramData\Tech Tool\Waf\OtD
Open tech tool
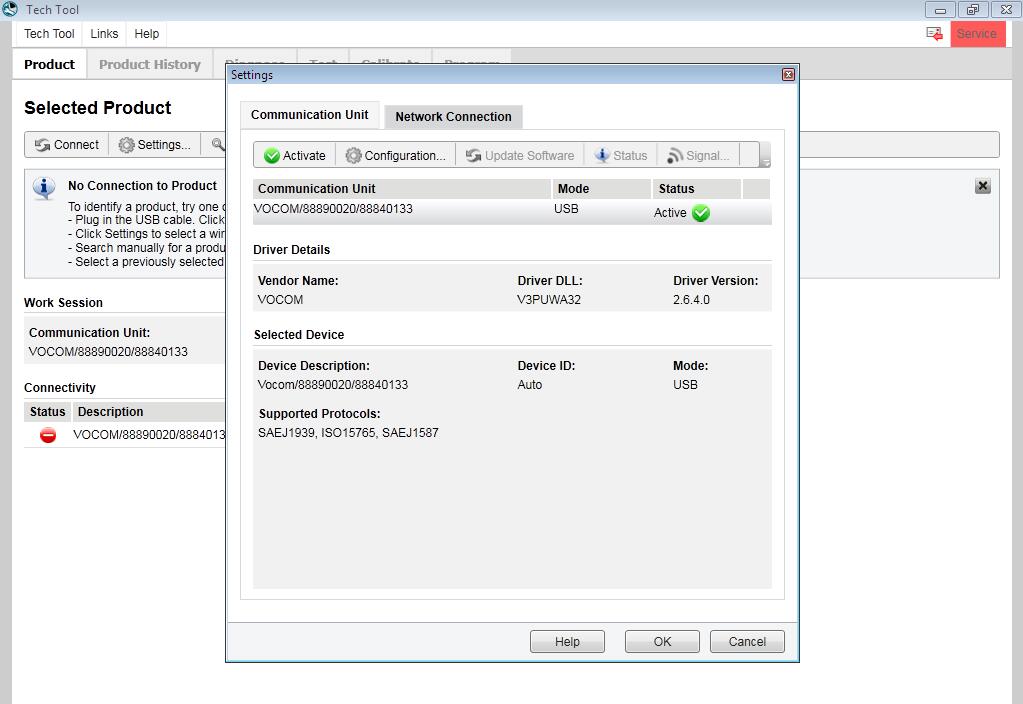
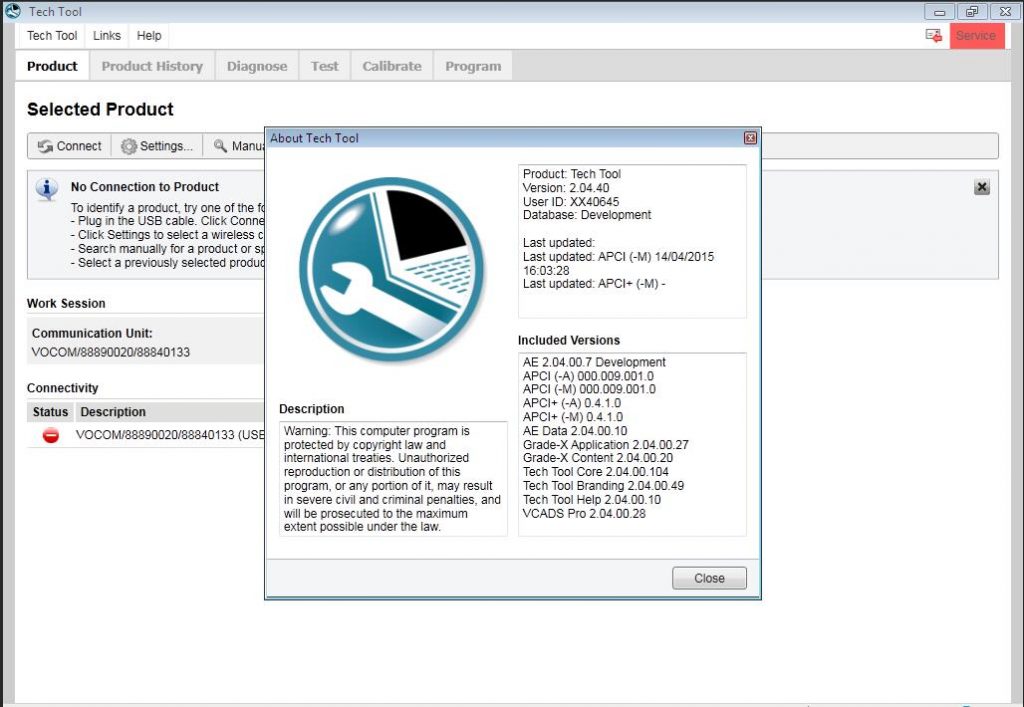
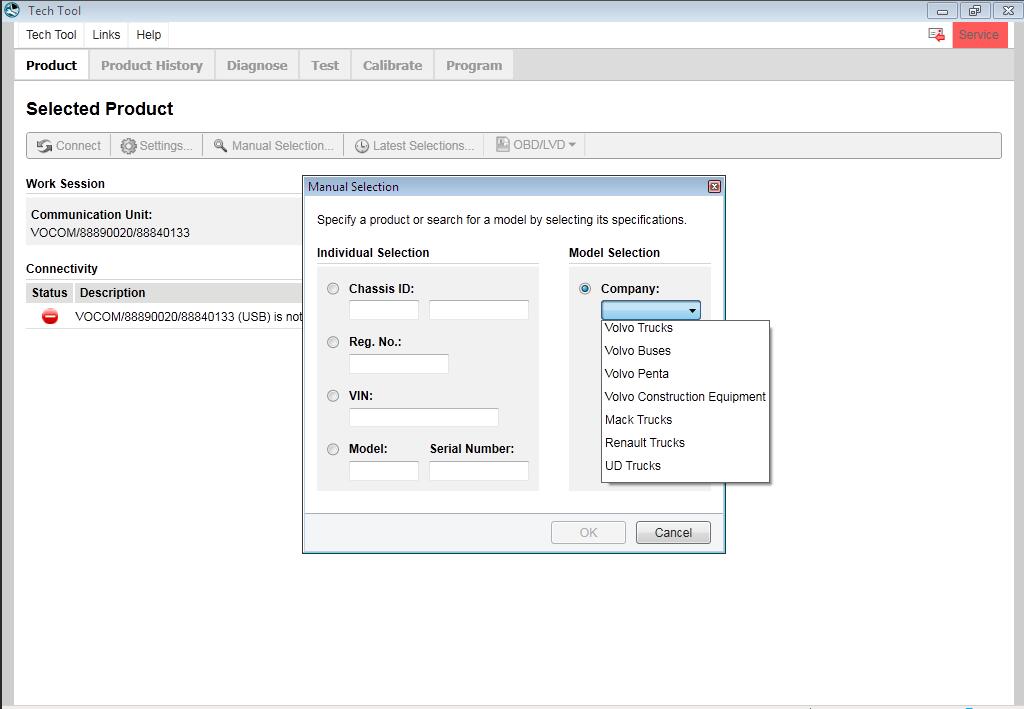
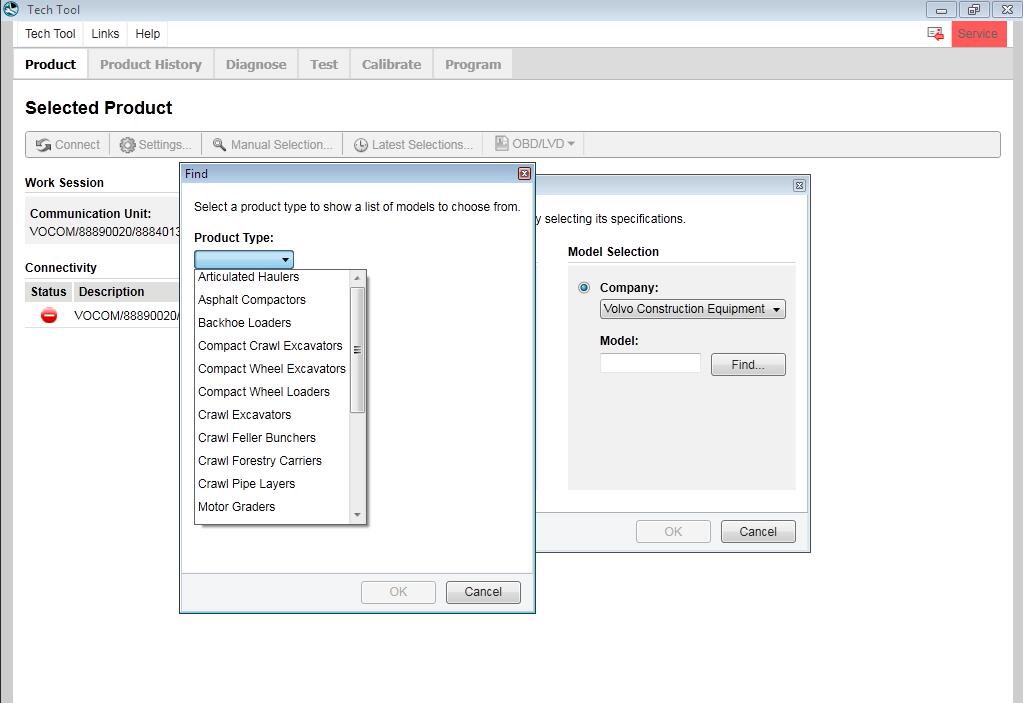
Tech Tool and Update Product Information
Volvo ptt 2.04.55 installation guide:
Volvo ptt2.04.55 needs the updated operating system
disable antivirus and firewall
mount the image file with Daemon tools ….
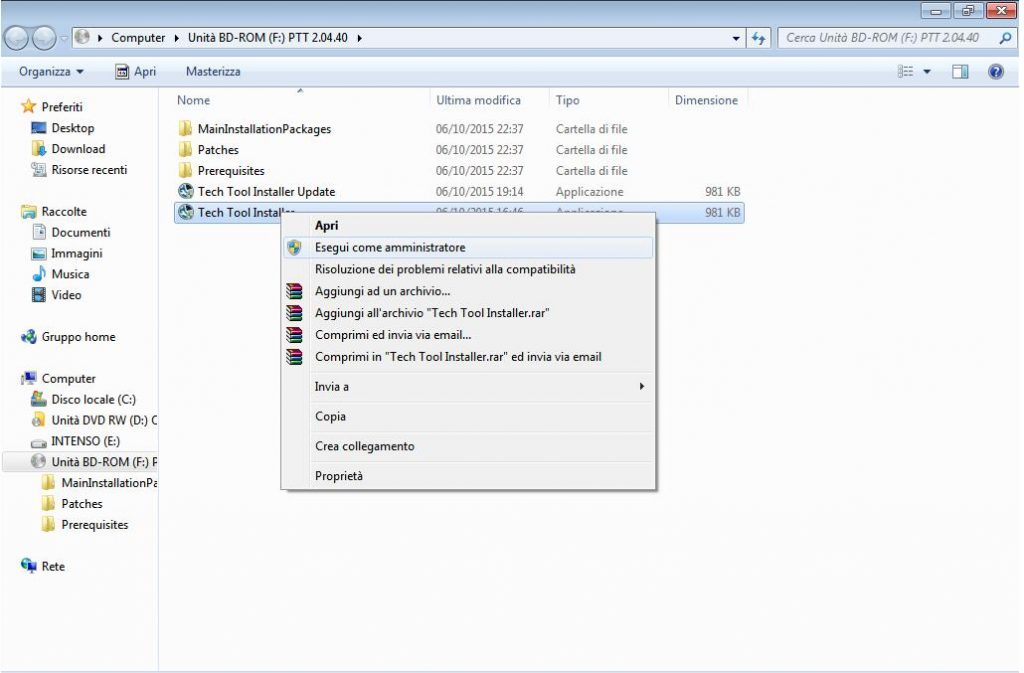
start the setup as an administrator ..
Click OK
Click Next
Click Install
Click Finish
Click Next
Client id:123456,click next
Click Install
Click Finish
Wait…installation….continue
Click Next
Click Next
Click Install
Click Finish
Wait…installation…continue…
Finish installing all applications… restart pc

After reboot…Open client update
Search update

Install all update
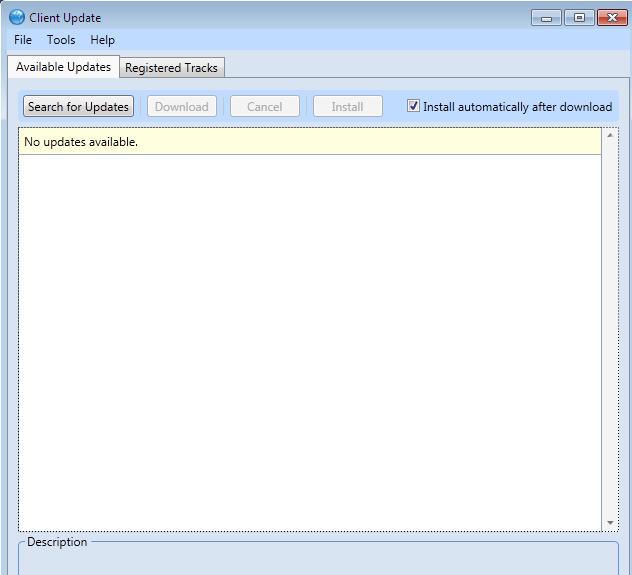
No other update available…close this window
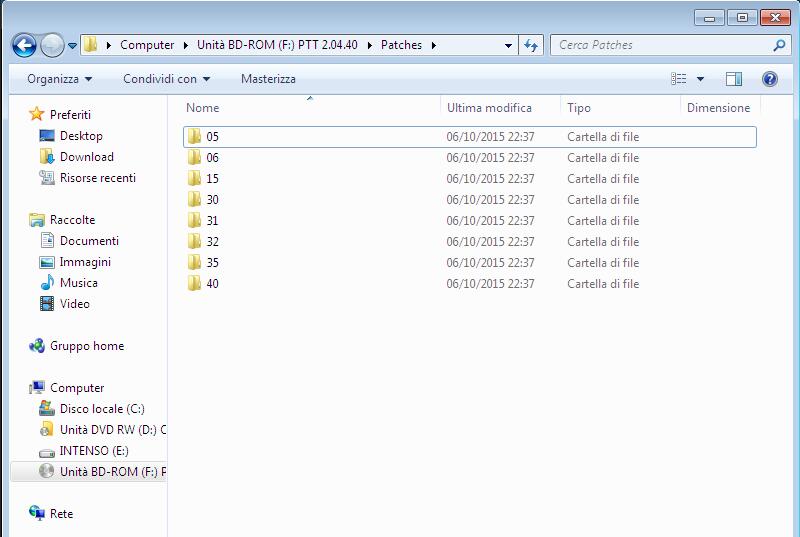
Open folder.. Patches, open folder.. 05
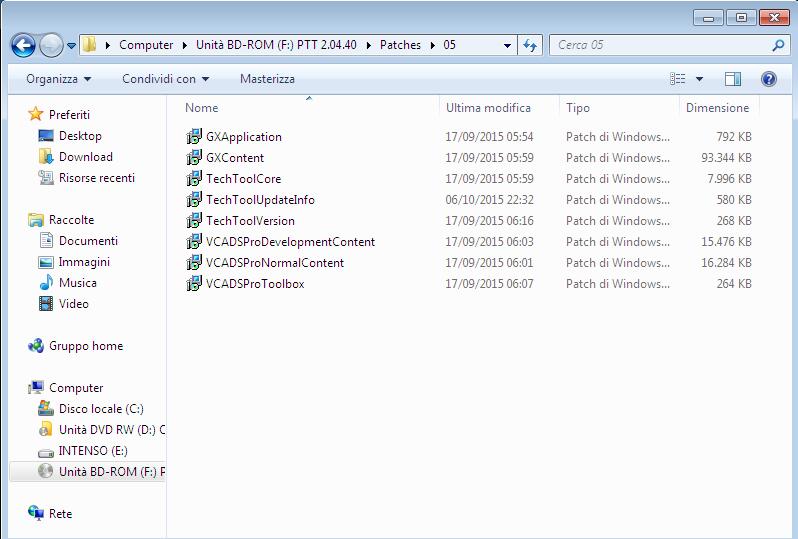
install in order of appearance the various applications
when you have this warning, click on .. no.
continue installing all other applications ….. finished installing all … reboot the pc
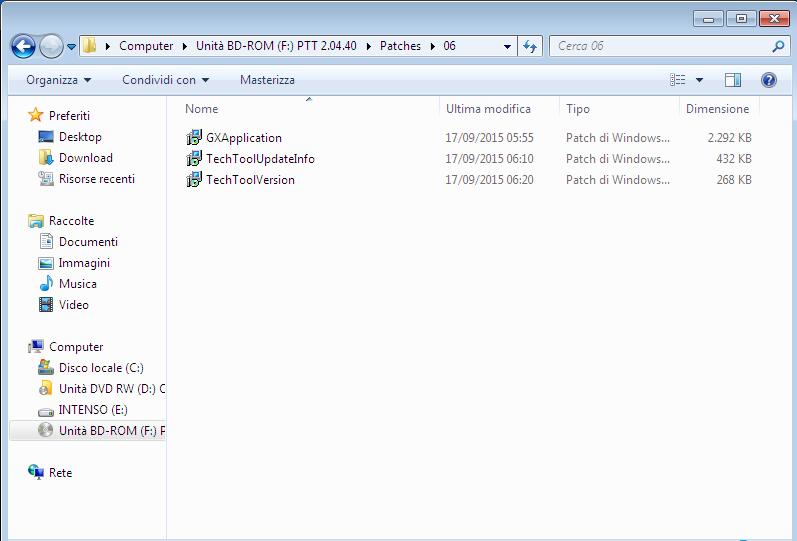
After reboot… open folder 06….. install all
Folder 15.. install all
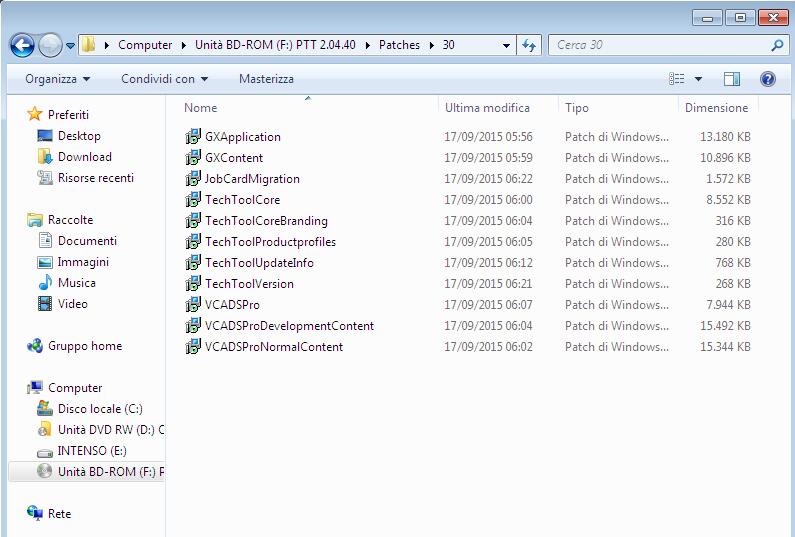
Folder 30.. install all
when you have this warning, click on .. no.
continue installing all other applications ….. finished installing all … reboot the pc

After reboot… open folder..31 install all
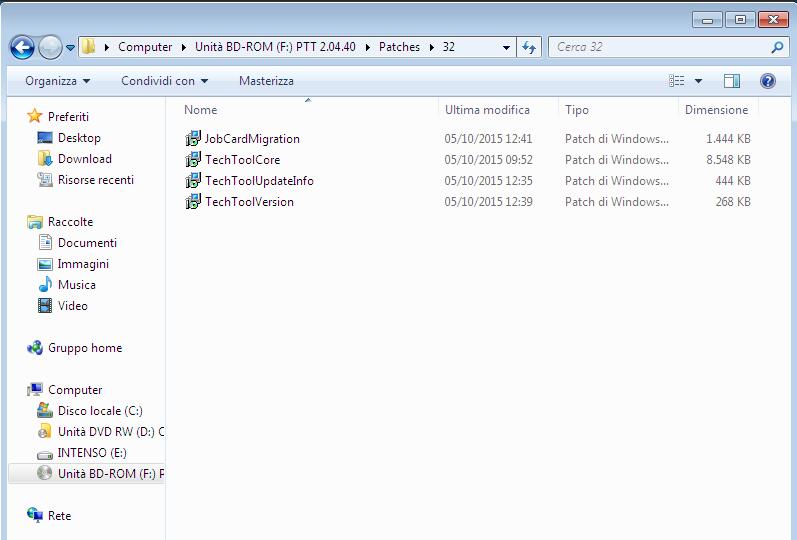
Folder..32.. install all
when you have this warning, click on .. no.
continue installing all other applications ….. finished installing all … reboot the pc
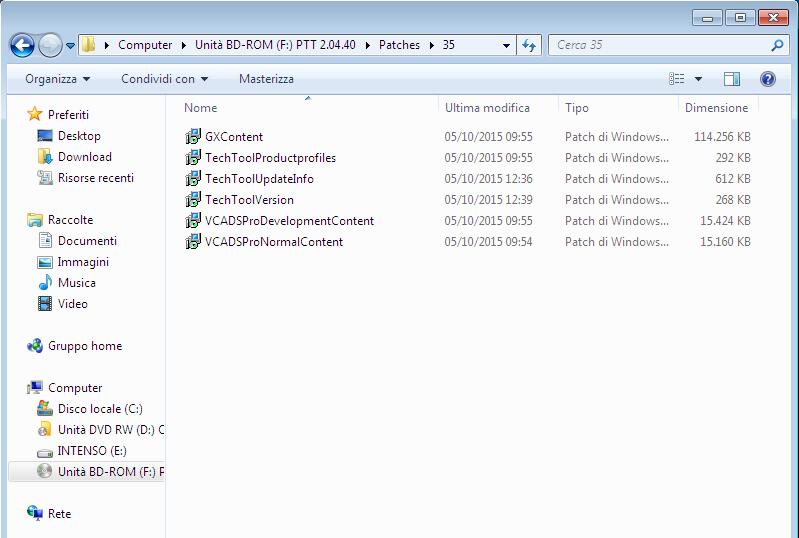
After reboot open folder 35.. install all
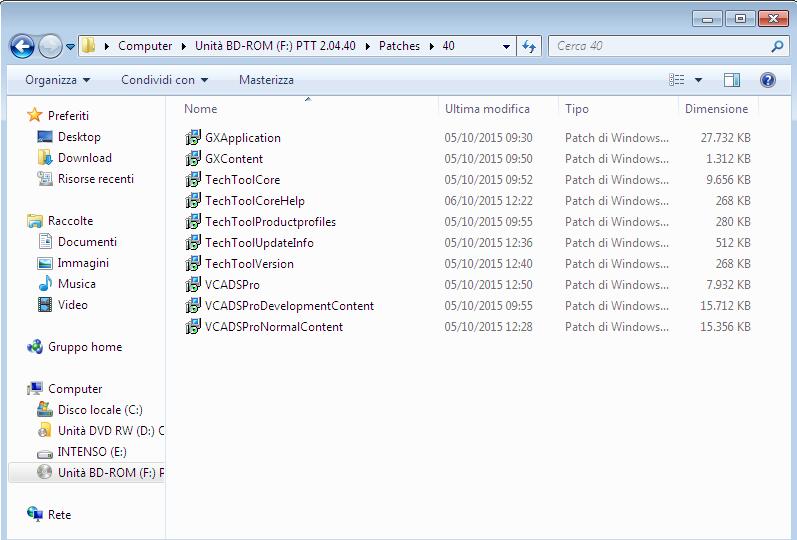
Folder.. 40 install all
..same for all….to the folder 55
when you have this warning, click on .. no.
continue installing all other applications ….. finished installing all … reboot the pc
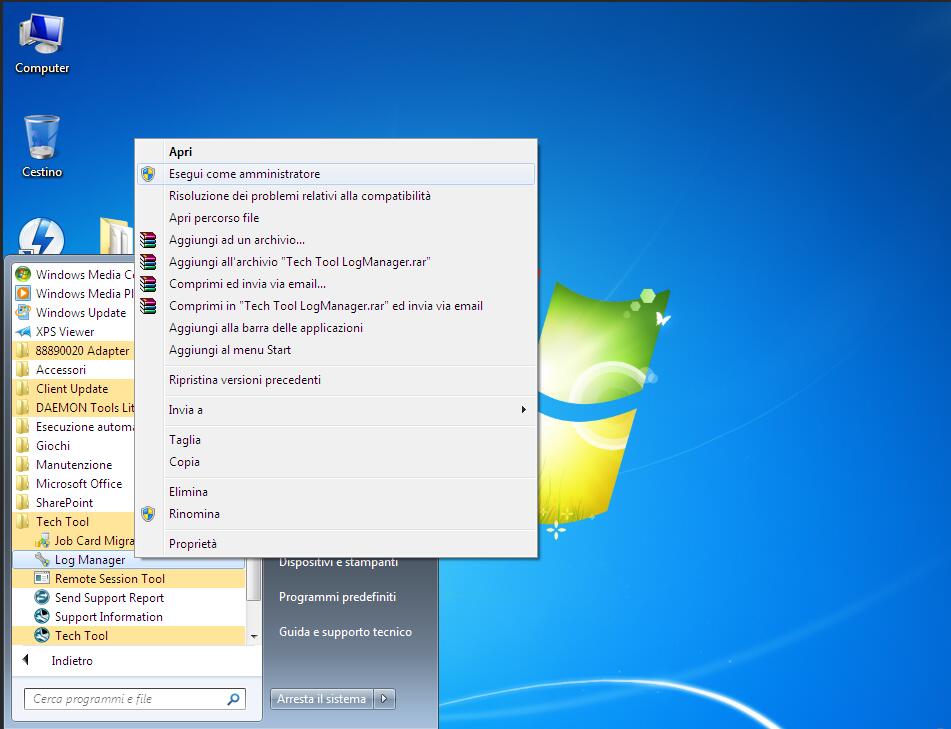
After reboot… click.. Start->all program->Tech tool->Log Manager…. run as administrator
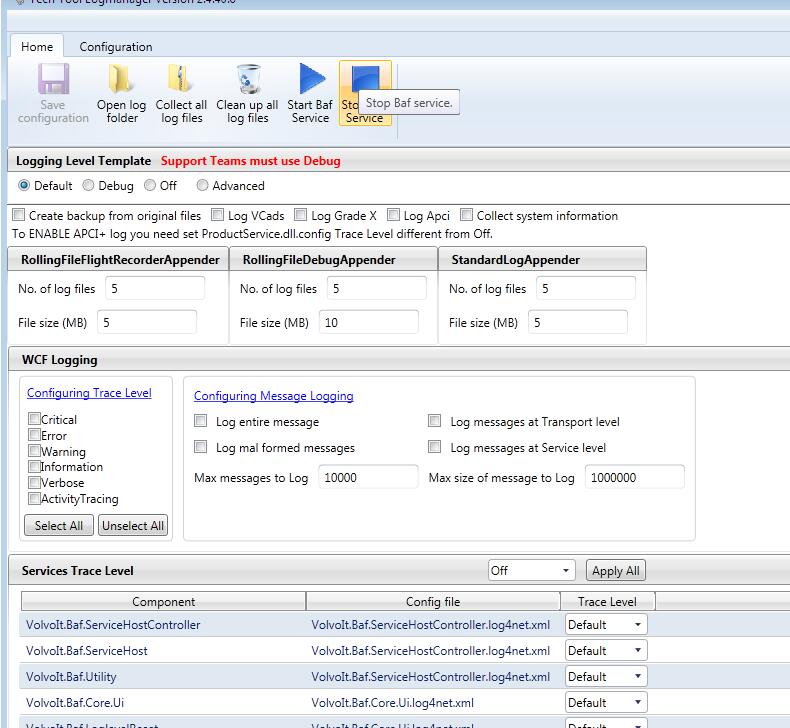
Click on… stop baf service..wait stop service…..
Ok… do not close the page.. ( minimize)
Open folder ..activator , copy this file
Paste in: C:\programdata\techtool replace
From folder activator… copy this file
Paste in: C:\ program files\tech tool\tech tool\baldolocal replace
From folder activator 2.04.40, copy this file
Paste in : C:\ program files\tech tool\ tech tool\ login replace
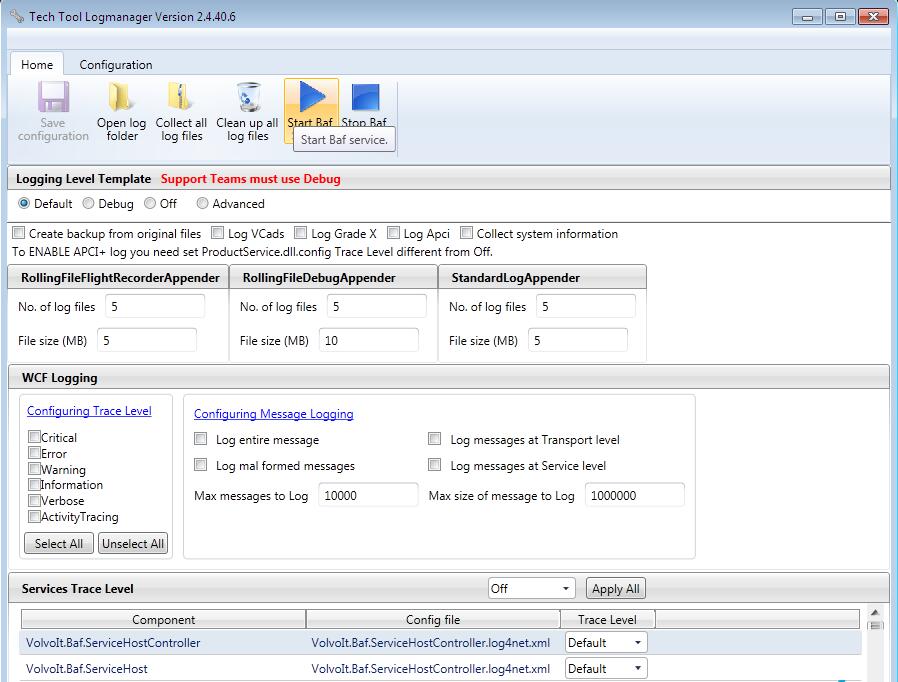
Click start baf service
Wait message
Click Ok
Close all
TechTool start from the desktop as administrator … to start … more
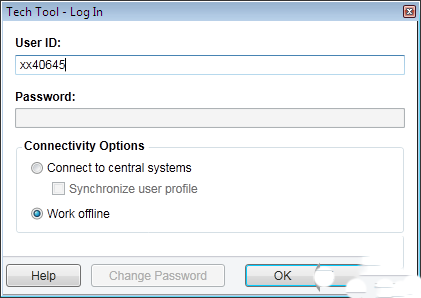
Select.. work offline
User ID: xx40645 ok
Work

Tech tool installation success!