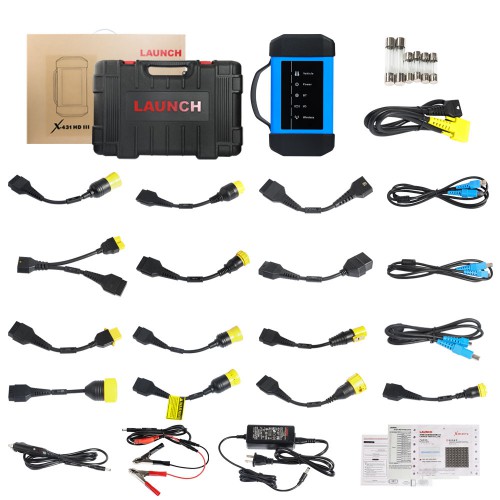
Launch X431 V+ Pro3 Professional Auto Diagnostics Wifi 10.1 inch Tablet Plus X431 HD3 Heavy Duty Module Support Both Cars and Trucks.
This tool has the option of “Remote Diagnose” aims to help repair shops or technicians launch instant messaging and remote diagnosis, making the repair job getting fixed faster.
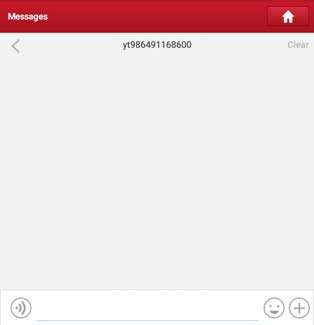
Tap “Remote Diagnose” on the Job menu, the screen appears blank by default.
Part 1.CHECK Launch X431 V+ PRO3 App’s Interface Layout:
| 1 | Home button | Tap it to navigate to the Job menu screen. |
| 2 | Search bar | Directly input the registered username of the tool to start
searching, and then tap the desired one to add it into your friend list. |
| 3 | Friend list
display area |
By default it appears blank. |
| 4 | Message tab | Once an incoming message reaches, a red dot will appear
on the upper right corner of the tab. |
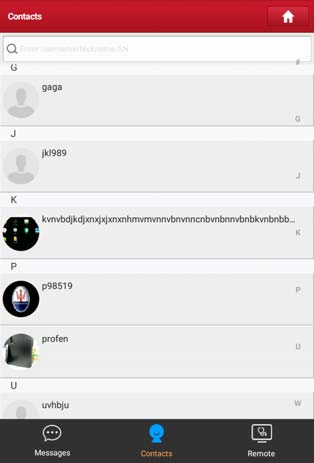
| 5 | Contact tab | Tap to enter the friend list. |
| 6 | Remote
switch |
Tap to slide the switch to ON, the tool keeps online and
becomes accessible on the web client. In this case, inform the technician of your product S/N, and he/she will control your device remotely. |
Part 2.How to Add Friends?
Tap “Contact” to enter the contact page. By default it appears blank.
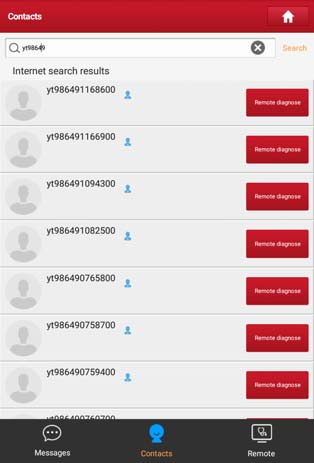
In the search bar, input the partner’s username and tap “Search” button next to the search bar to starts searching from Launch’s golo business database.
The partner must be the users who have registered their Launch’s diagnostic tools. They may be the following:
* Workshop
* Technician
* golo users
Once the result matches the keyword, a screen similar to the following will appear:
Here you can tap “Remote Diagnose” to launch remote diagnostics directly or choose to add the partner into the Contacts list.
Tap the desired name from the list, the following screen appears:
Tap “Add friend”, a dialog box pops up:

Tap “CONFIRM” to send your request.
Once the partner receives the request, a beep will sound. Tap the “Message” tab:
* Once the partner agreed your request, he/she will automatically be listed in the Contact tab.
* If a technician sent you a friend request, you can tap “Agree”to confirm and his/her name will appear in the friend list (Contact). Or tap “Ignore”to ignore this request.

Part 3.How to Start Instant Messaging?
Please have your attention here: The I/M (Instant Messaging) function is open to all users who had Launch’s diagnostic tool equipped with this module.
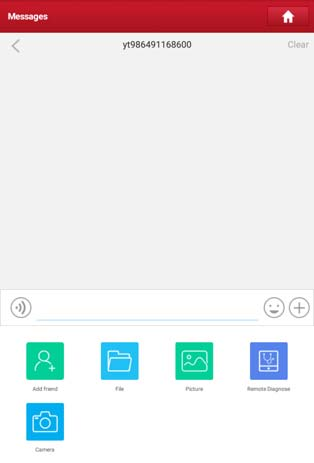
After adding your friends, tap the desired one’s photo to enter a screen similar to the following:
Tap the input field and use the on-screen keyboard to enter the text message,
and then tap “Send” to send it.
Tap to send the voice message.
Tap to send the emoj.
Tap to call out more function options.
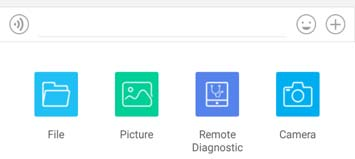
File: Choose diagnostic reports or local files to send.
Picture: Choose screenshots or pictures to send.
Remote Diagnostic: To start a remote diagnostic session.
Camera: Open camera to take pictures.
Tap “Clear” to delete all the partner’s dialog logs.
Tap “Close” to close the current dialog.
Part 4.How to Perform Launch Remote Diagnosis (Device-To-Device)?
The tool is allowed to initiate remote diagnosis with other diagnostic tools
(including but not limited to the X-431 PRO3 V4.0) of Launch family, which are
equipped with this module.
Please have your attention here: Before performing this operation, please make sure the following no matter which side sends the remote request:
* Turn on the vehicle power supply.
* Throttle should be in a closed position.
* The tool should be properly connected to the vehicle’s DLC and a successful communication is required.
On the function option selection screen, tap “Remote Diagnostic”, a pull-down menu including the following options appears:

These options are defined as follows:
| Actions | Results |
| Request control
remote device |
Request to control the partner’s device remotely to help him diagnose the vehicle.
*Notes: ·Remote diagnosis has the same diagnostic steps as manual diagnosis. ·In process of remote diagnosis, tap the button to send a voice message. ·Once vehicle diagnosis is complete, a report will be created. Input your comments on this report, and then tap “Send Report” to send it to the partner. |
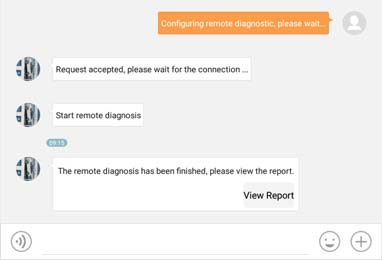
| Invite remote
diagnostic assistant |
If you need support, just use this option to invite a
technician to perform a remote control on your tool. *Notes: ·Remote diagnosis has the same diagnostic steps as manual diagnosis. ·In process of remote diagnosis, tap the button to send voice message. ·Once you received the report from the partner, tap “View Report” to view details. All diagnostic reports are saved under the “Remote Reports” tab of “My Reports” in “User Info”.
|
| Cancel | To cancel this operation. |
Part 5.How to Perform Launch Remote Diagnosis (Device-To-PC)?
Except that the remote diagnosis can be done between different Launch’s diagnostic tools that come loaded with the module, user also can ask for remote control from PC client technician.
Tap the “Web Remote” tab, the screen displays as follows:
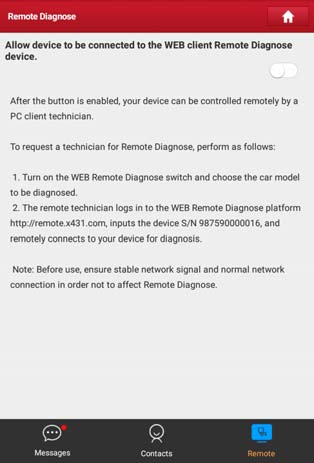
* Slide the switch “Allow device to be connected to the WEB client remote diagnostic device” to ON so that the partner can find and connect to this device while using the PC.
* Notify the partner of the PC client website http://remote.x431.com. When the partner accesses the link, the PC displays as below:
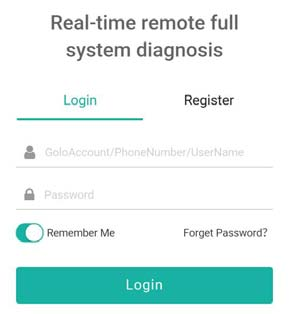
* Tell the partner to input his own official technician account and password, and then tap “Login”to navigate to the following figure.
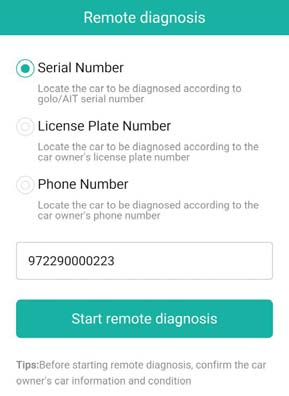
* Tell the partner to check the box “Serial number”and enter the Serial Number provided by you, and then tap “Start remote diagnosis”to control your device remotely.
In process of remote diagnosis, please note the following things:
1) You are not suggested to execute any actions.
2) The partner is not allowed to save any diagnostic reports or records on your handset.
The operations in remote diagnosis are same as those in local diagnose. Once the session is complete, a remote diagnostic report will be automatically generated.
That’s all about the Launch X431 V+ Pro3 Professional Auto Diagnostics performing remote diagnose special function.
That’s all. Thank you for sharing your time with us!