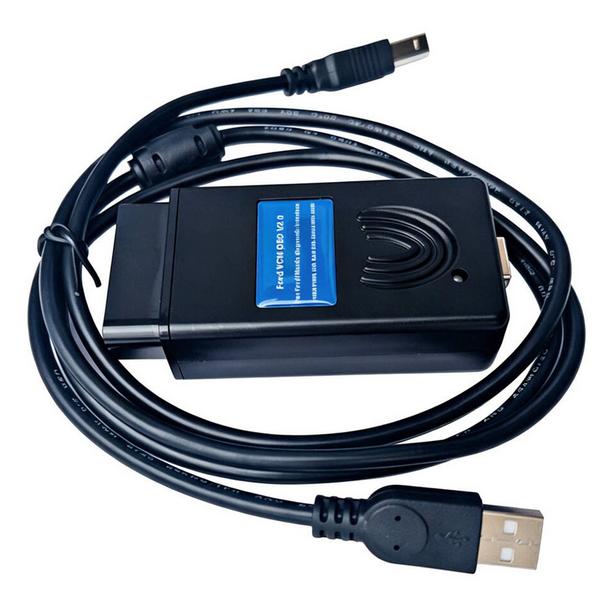
To use the FoCOM Ford VCM OBD V2.0 diagnostic tool, you must install the FoCOM software and dedicated drivers onto a Windows computer, and then bridge the device between your PC’s USB port and your car’s OBD-II port. This specialist tool is highly optimized for Ford and Mazda vehicles manufactured between 1996 and 2010
A complete step-by-step breakdown details how to configure and utilize this specific tool:
- Computer Software Setup
Before plugging the device into your car, prepare your Windows laptop
Install FoCOM: Insert the installation CD or open your downloaded setup file. Run the installer, choose your language, and click Install.
- Physical Connection Order
Prevent data corruption and communication failure by following this specific sequence
Make sure your car’s ignition is turned completely off.
Locate the 16-pin OBD-II port, which is normally found under the dashboard on the driver’s side or behind the fuse box.
Plug the large 16-pin connector of the FoCOM VCM directly into your car’s port.
Plug the standard USB cable end into your Windows laptop.
Turn the vehicle’s ignition key to the “ON” position (dashboard lights illuminate), but do not crank or start the engine
- Running Diagnostics
Open the FoCOM program on your laptop to start communicating with the car
Device Detection: The software should auto-recognize your connected smart USB interface.
Vehicle Selection: Use the Automatic ECU recognition and Automatic vehicle scan features. If the tool struggles with an older vehicle, manually select your model (e.g., Focus, Mondeo, Fiesta) from the vehicle menu
Scan Modules: You can now access individual Electronic Control Units (ECUs) such as the Powertrain Control Module (PCM), Transmission Control Module (TCM), or Airbags.
Available Functional Options
Once connected, choose from several key diagnostics capabilities built into the V2.0 programmer software
Read and Clear Fault Codes: Pull up Diagnostic Trouble Codes (DTCs) with full descriptions to understand exact faults, then clear them to turn off the Check Engine Light.
Live Measured Values: View and record live streams of real-time data such as engine RPM, battery voltage, and coolant temperatures in numeric or graphic layouts.
Actuator Tests: Manually trigger specific components through the software (such as firing fuel pumps or locking doors) to check if the hardware functions.
Programming&Coding: Perform advanced adjustments like key programming, PATS immobilizer resets, or module configuration swap adapters after completing vehicle repairs