Writing Chevrolet E92 virgin files to OBDSTAR DC706 prior to an SPS2 session can be a crucial step in the programming process. This guide will provide you with a step-by-step instruction on how to import the necessary files and write them to the DC706 device. By following these instructions, you will be able to successfully program your ECM using the SPS2 software.
Step 1: Import Files to OBDSTAR DC706
- Read Files:
- Begin by reading the INT flash, INT EEPROM, and shadow flash files from the GM ACDelco E92 unit. Detailed instructions for this step should refer to the manual or guide on reading from GM ACDelco E92 ECMs.
- Send Data for Modification:
- After reading the files, send them to an expert who can modify them to create “virgin” files. Once you receive the modified files, proceed to the next step.
- Copy Files to USB Disk:
- Place the virgin INT flash, INT EEPROM, and shadow flash files onto a USB disk.
- Connect USB to DC706:
- Insert the USB disk into the OBDSTAR DC706 device.
- Transfer Files:
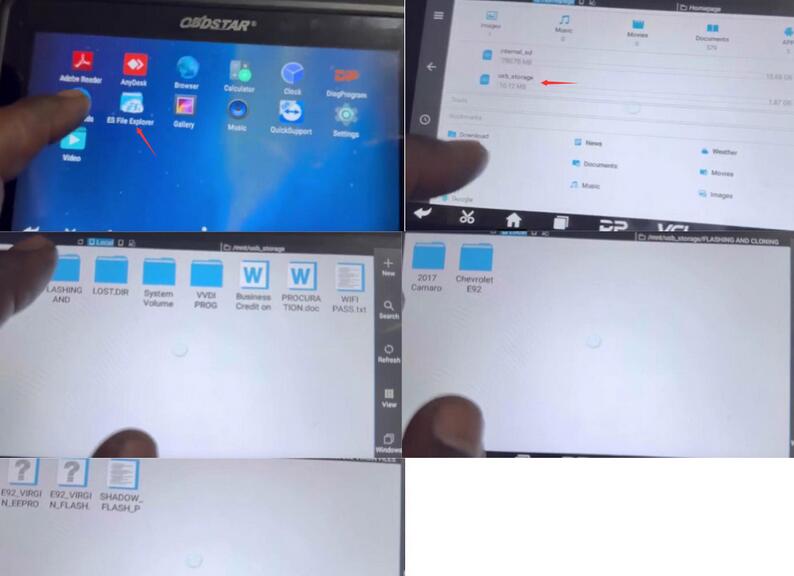
- Navigate to
ES File Exploreron the DC706. - Access
usb_storage(external storage). - Locate and copy the Chevrolet E92 EEPROM, flash, and shadow flash files.
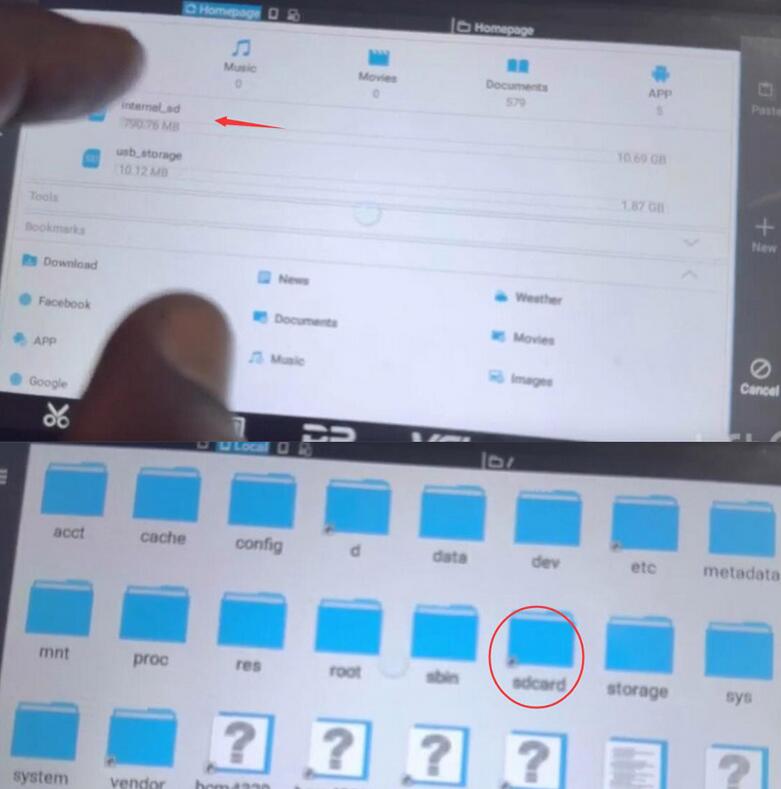
- Navigate to
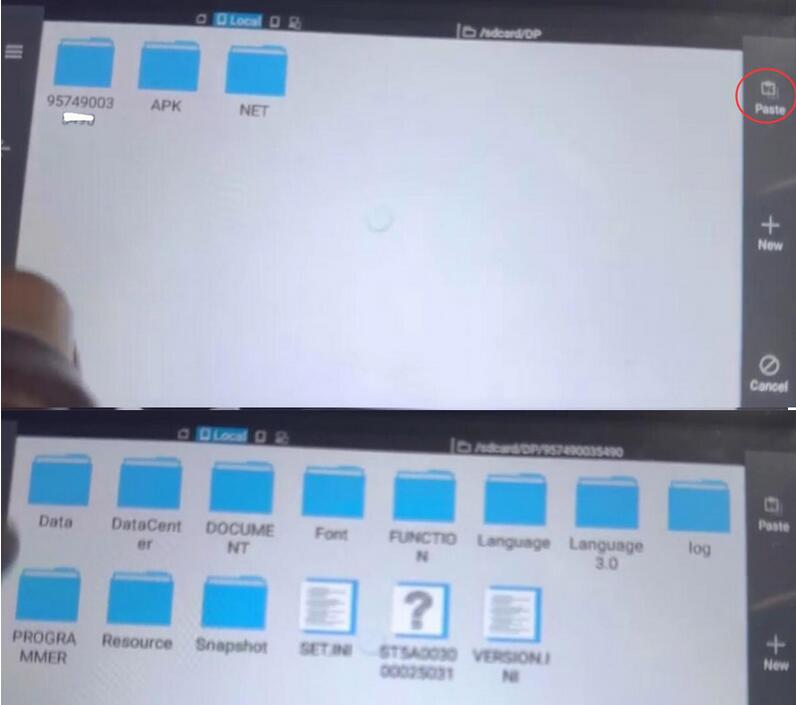
Internal_sdand paste the three E92 files into the/sdcard/device serial number folder/Data folder.
- Navigate to


Step 2: Write Files to DC706
- Prepare for Writing:
- Return to the main functions menu on the DC706.
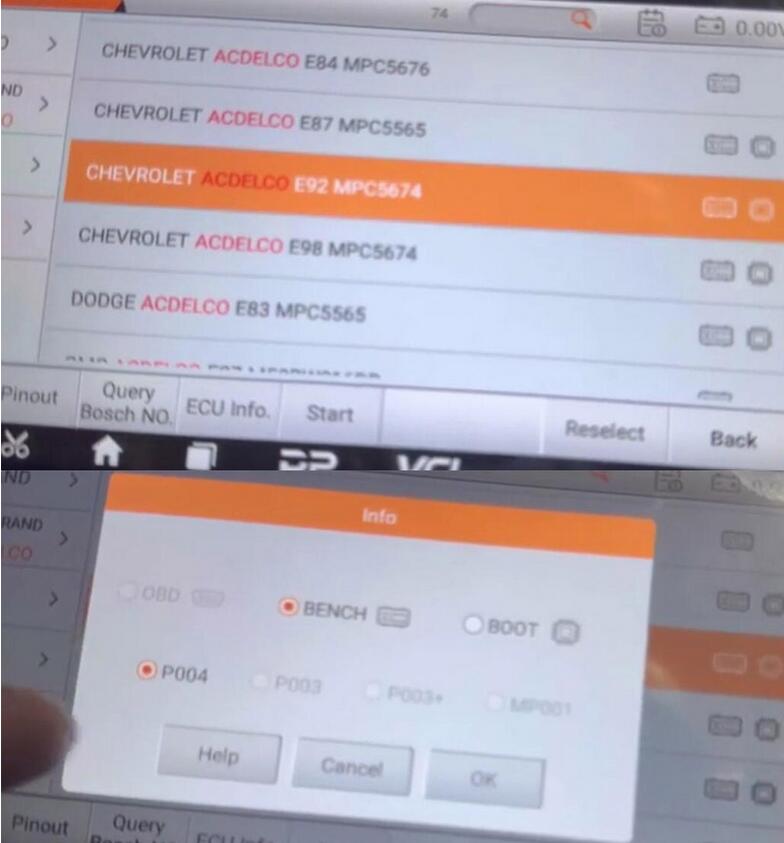
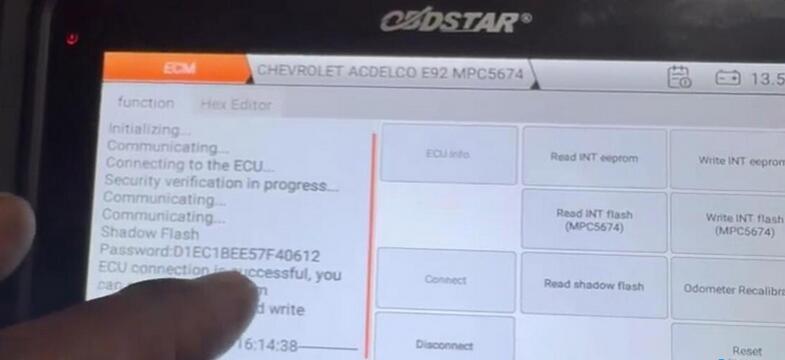
- Select
ECM softwareand perform a quick search forChevrolet ACDelco E92 MPC5674.
- Set Up Bench Mode:
- Choose
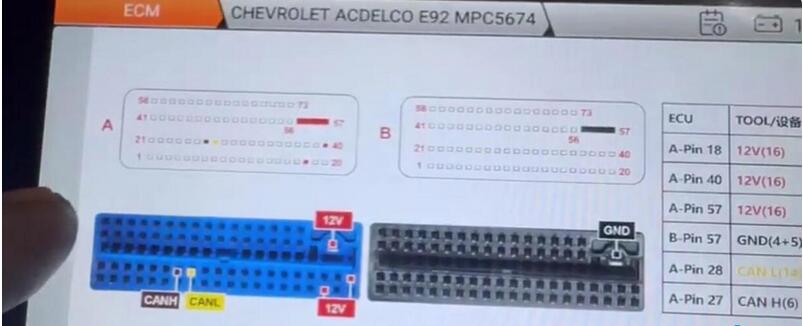
Bench Modeand use theP004 adapter. - Ensure the wiring is correctly set up as per the wiring diagram displayed on the DC706.
- Choose
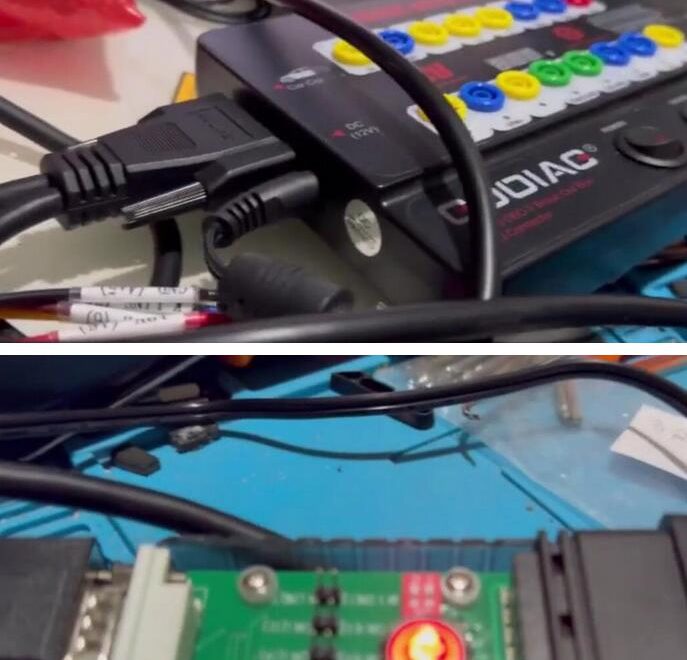
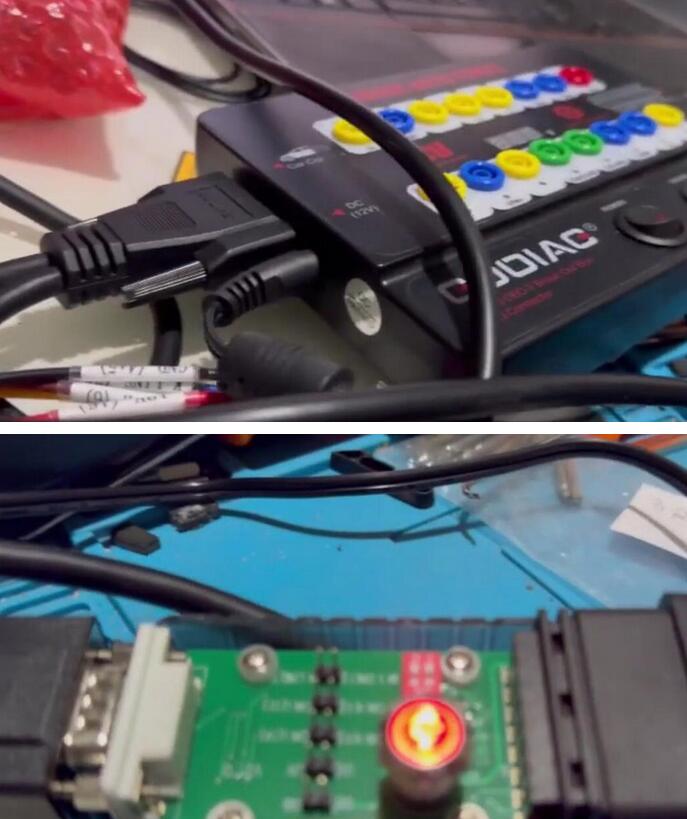
- Connect and Power Setup:
- Establish connections among the DC706, ECM, P004 adapter, and Godiag GT100 breakout box.
- Connect an external power supply (approximately 14.4V).
- Turn on the power for both the Godiag and the P004 adapter.
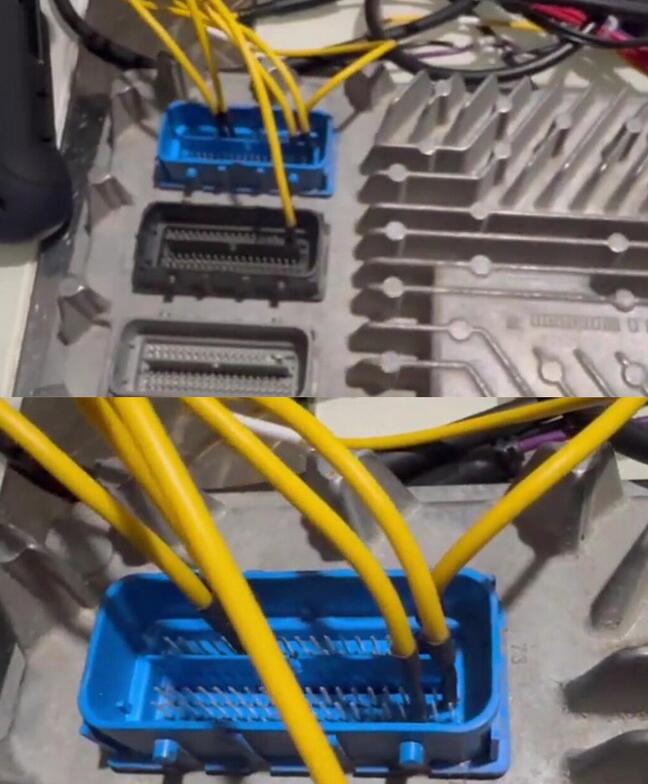
- Connect the ECM:
- Properly connect the ECM to the setup.
- Write Files:
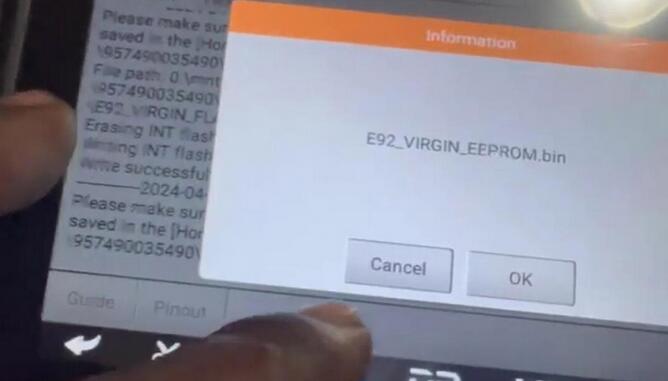
- Start by writing the INT flash:
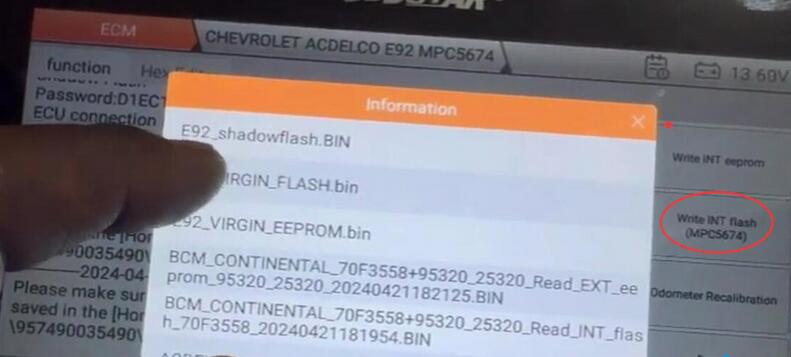
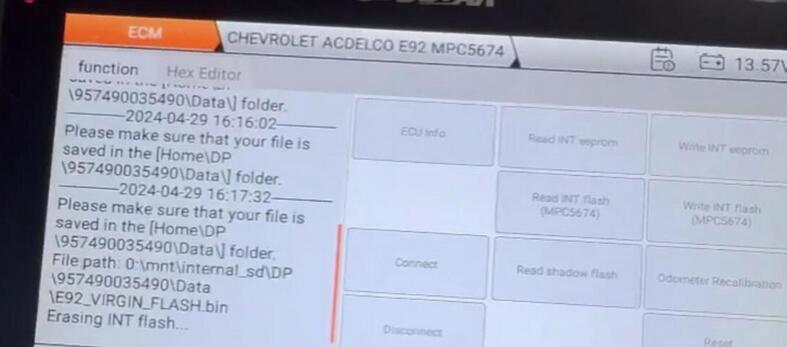
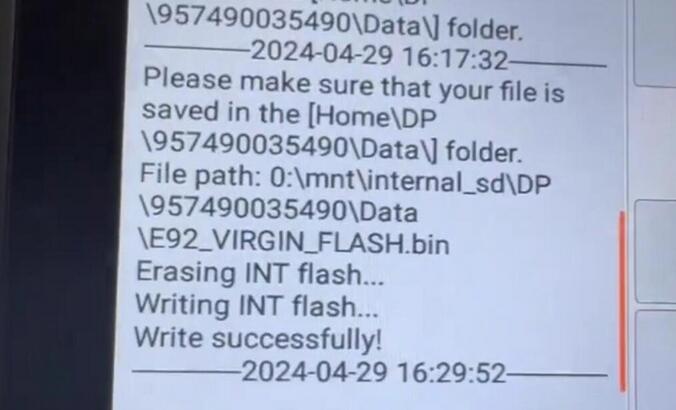
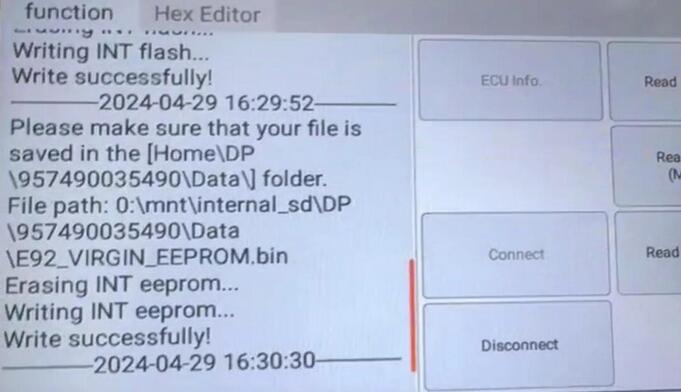
- Navigate to the location where you pasted the E92 virgin flash files.
- Select and write the INT flash file.
- Next, write the INT EEPROM:
- Follow similar steps as above to locate and write the INT EEPROM file.
- Start by writing the INT flash:
Step 3: Program ECM with SPS2
- Prepare for Programming:
- Ensure you have a J2534 pass-through device like the MDI2.
- Obtain a Techline Connect SPS2 subscription from acdelcotds.com.
- Program the ECM:
- Using the SPS2 software, proceed with programming the ECM following the standard process as detailed in the SPS2 guide.
By following these steps, you should be able to successfully prepare and program the Chevrolet E92 ECM using the OBDSTAR DC706 tool. Make sure to follow all safety and operational guidelines provided with your tools and software to ensure a successful programming session.